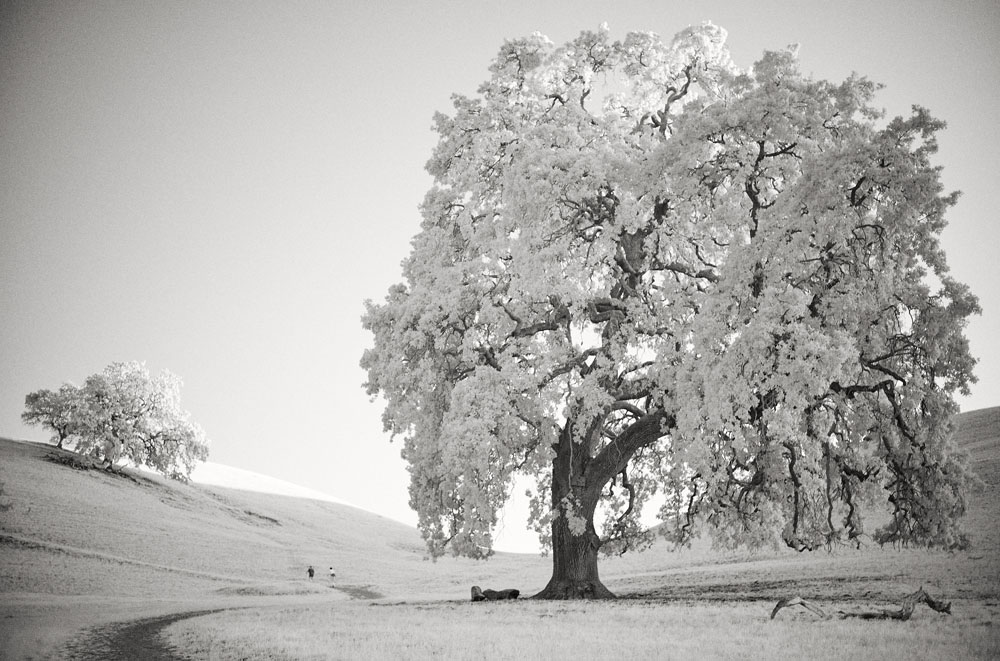
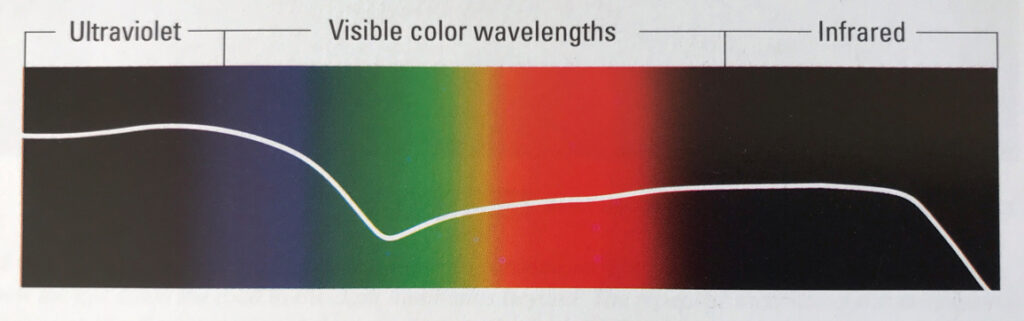
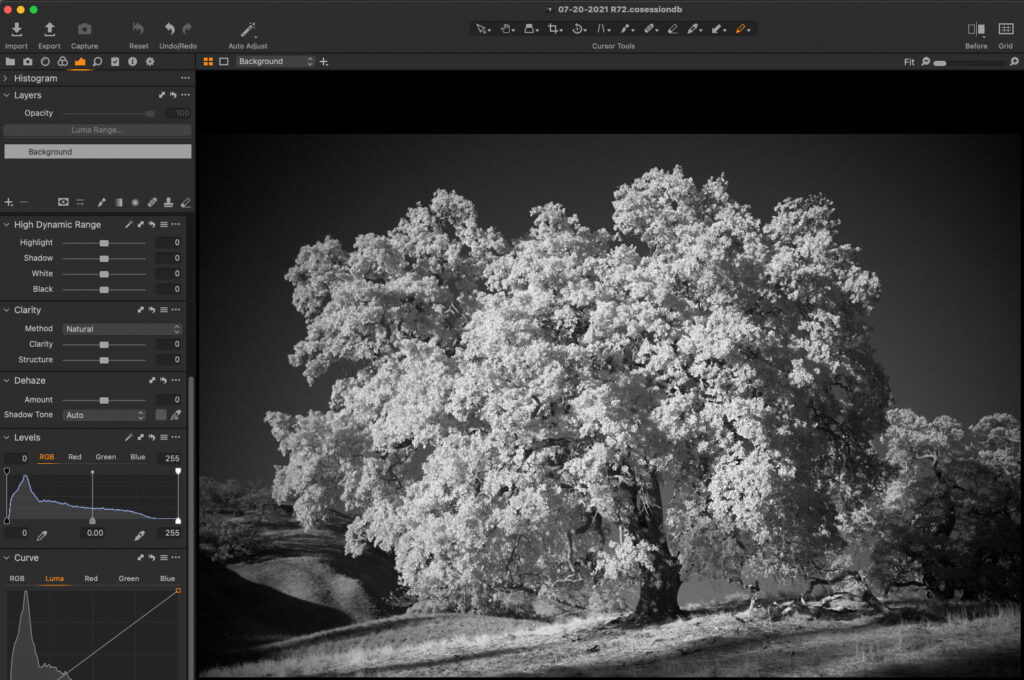
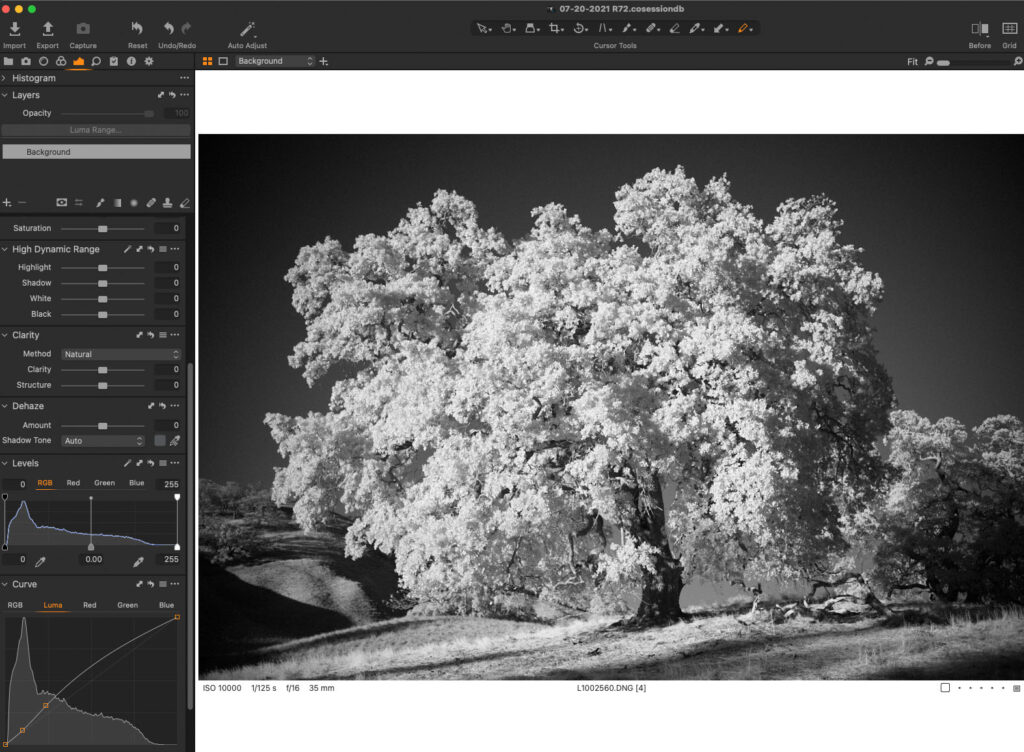
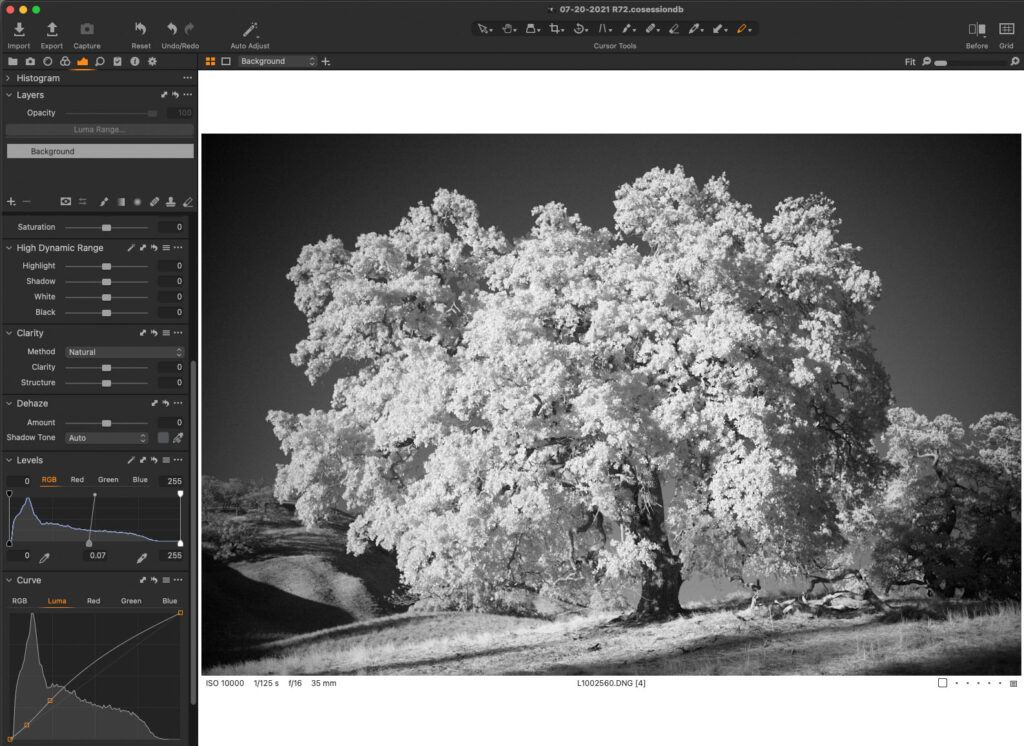
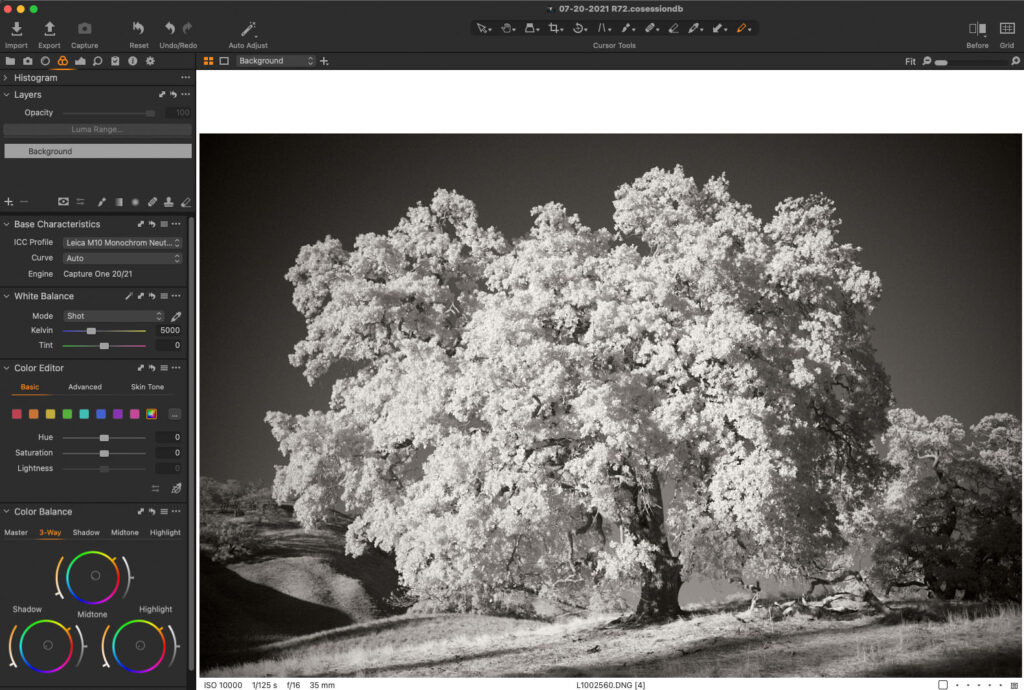
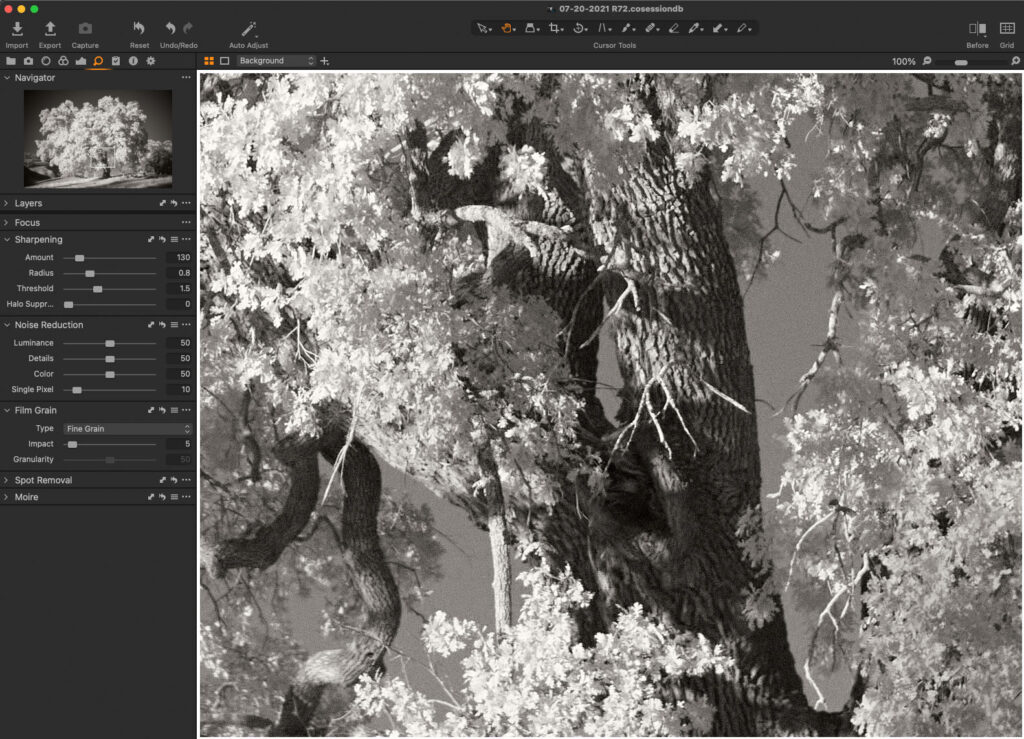
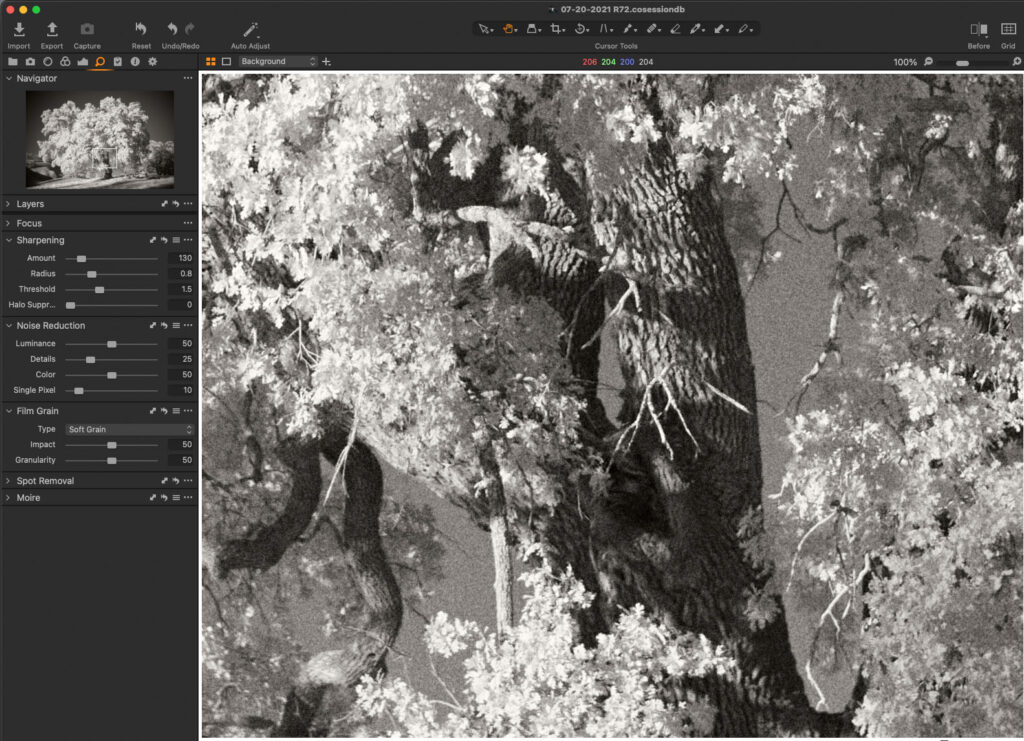
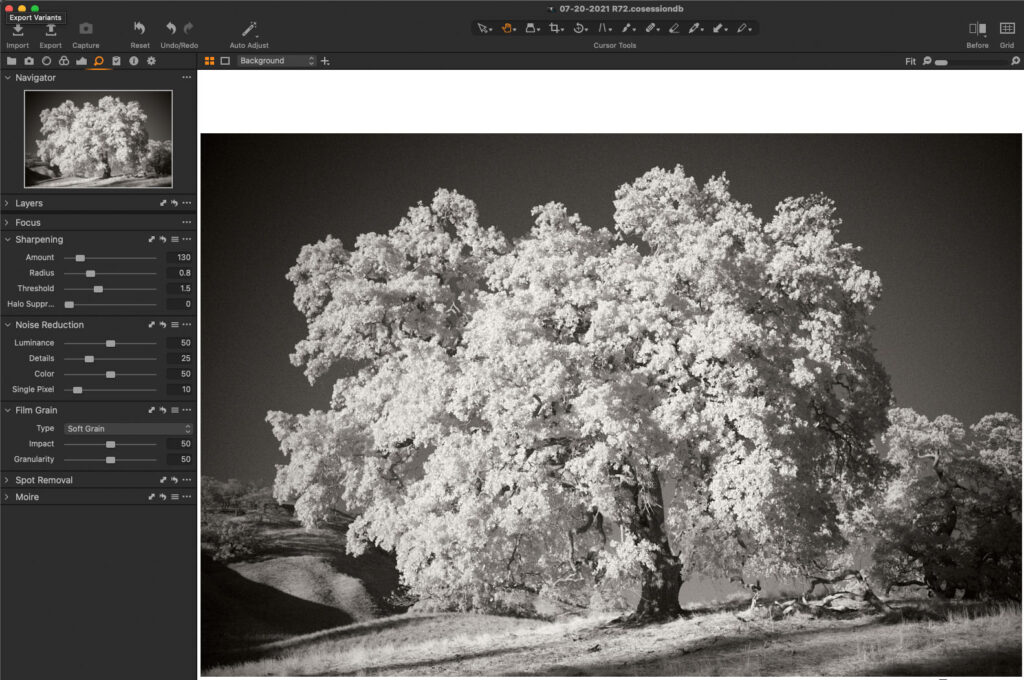
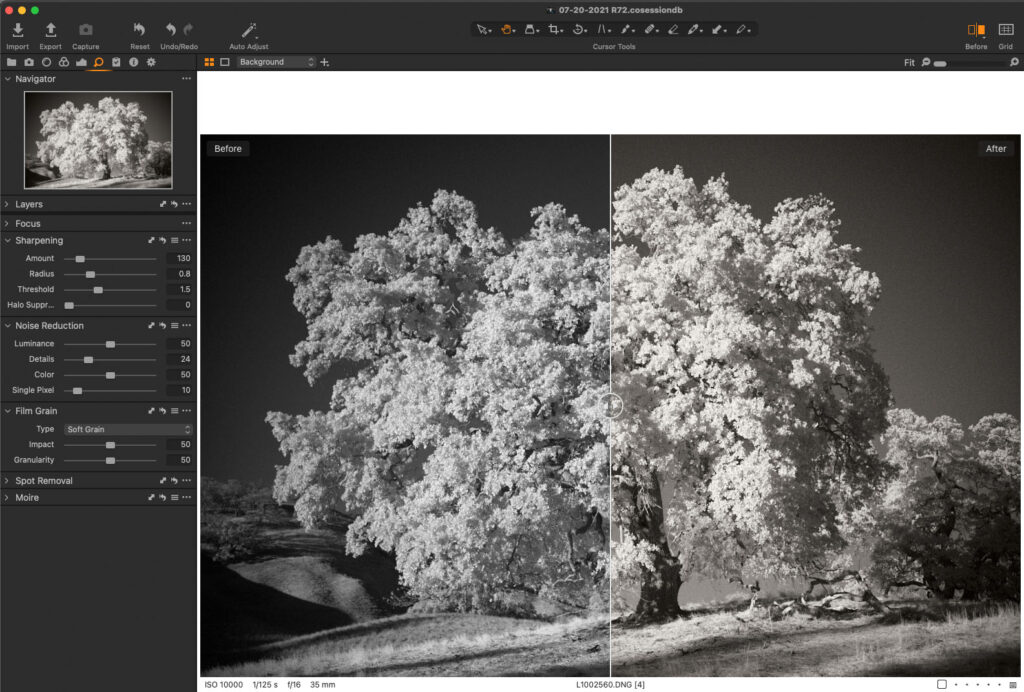
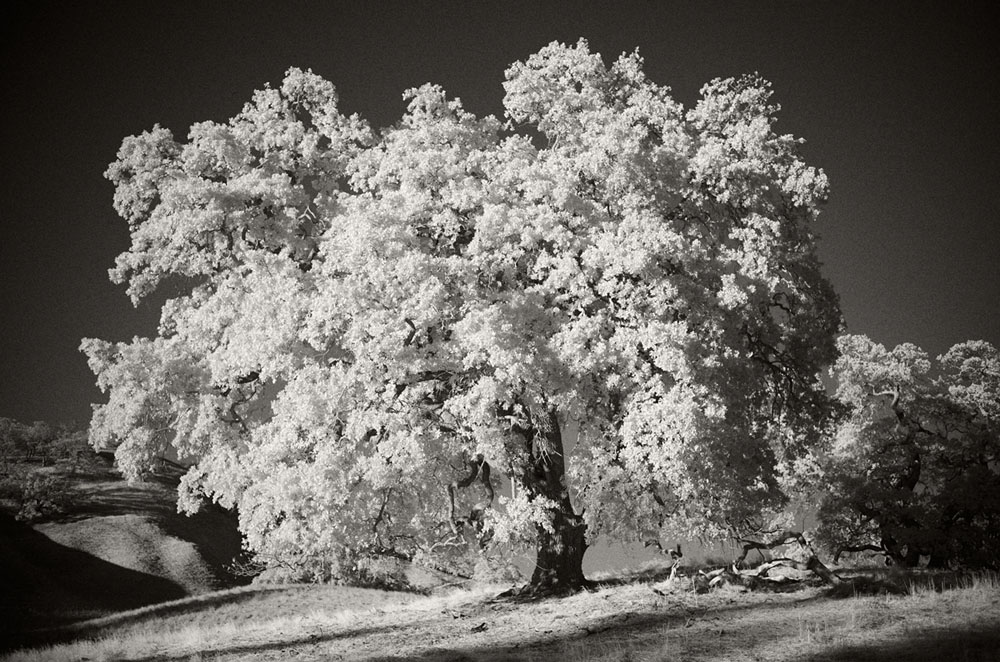
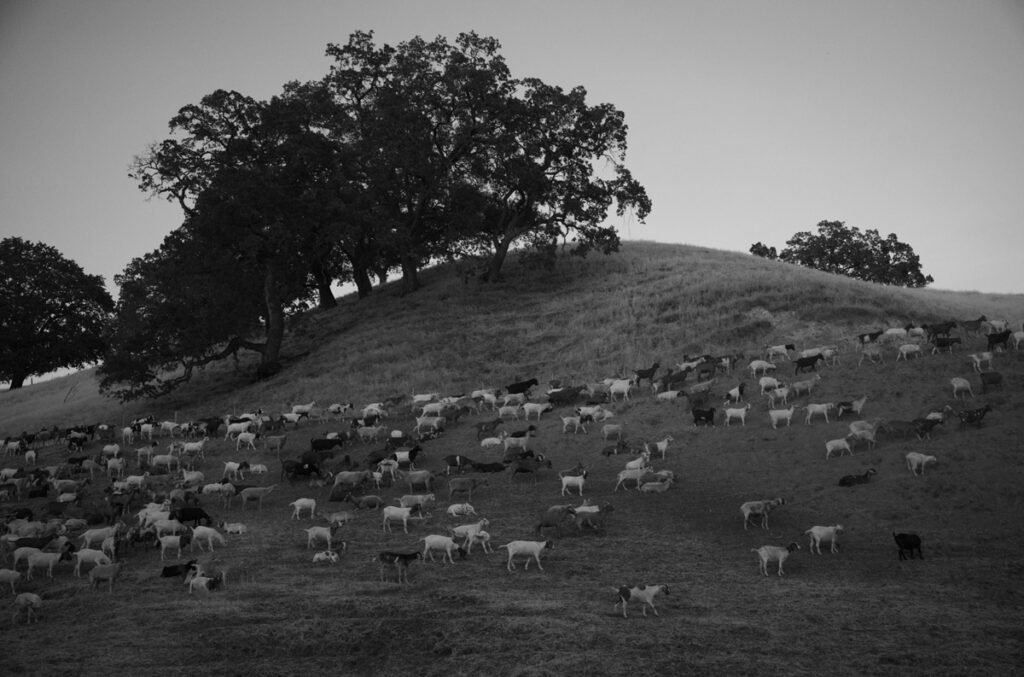
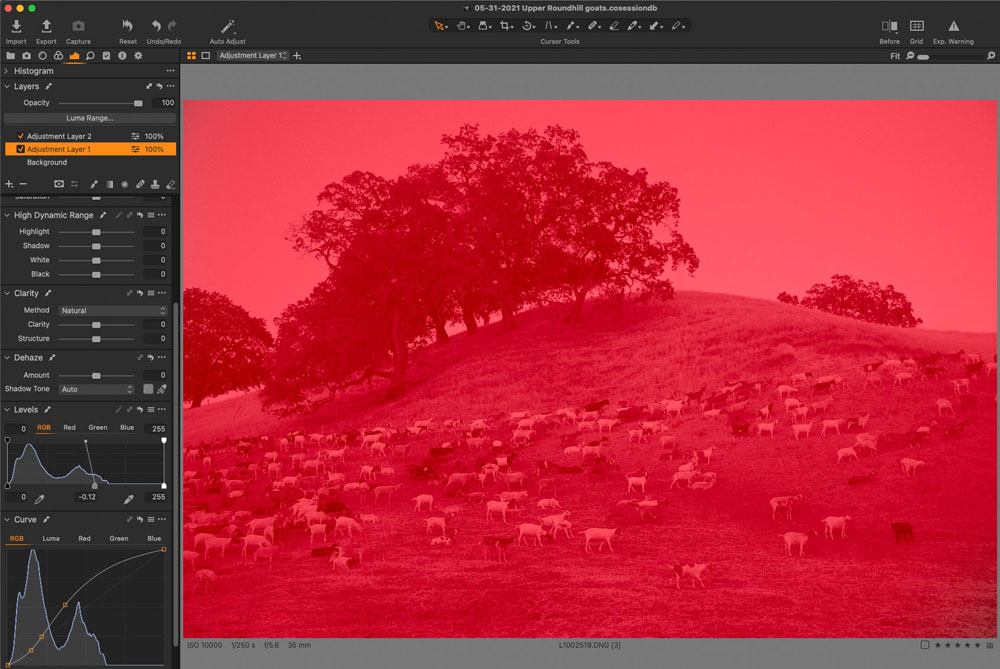
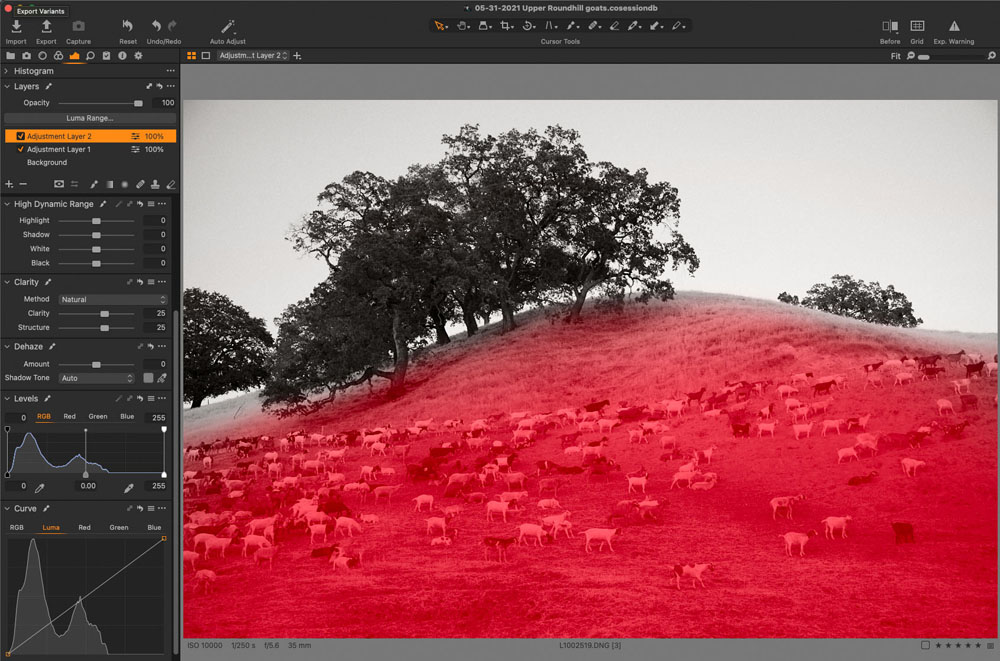
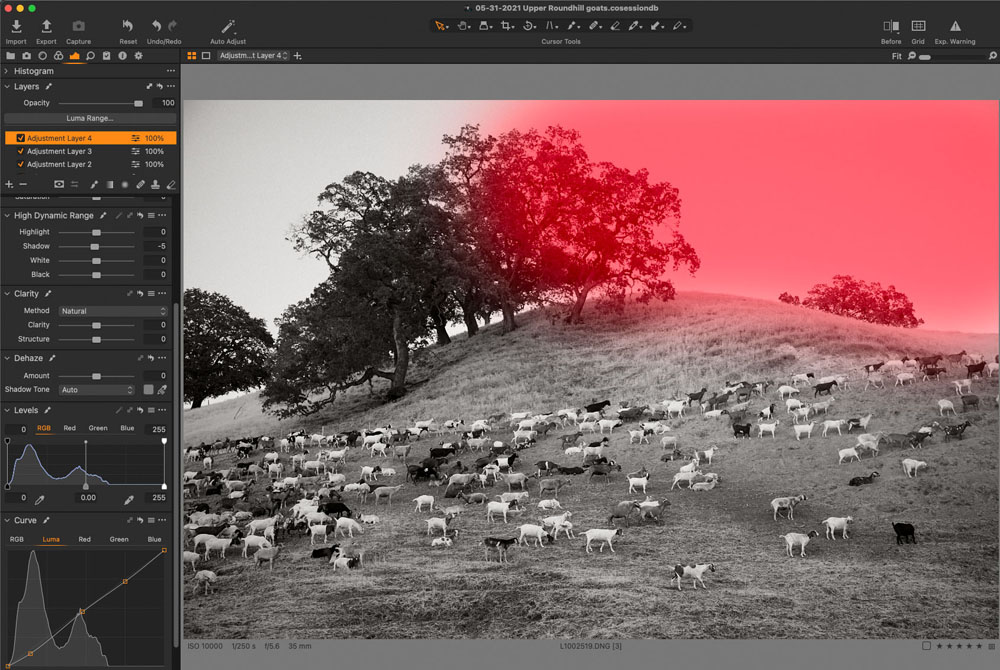
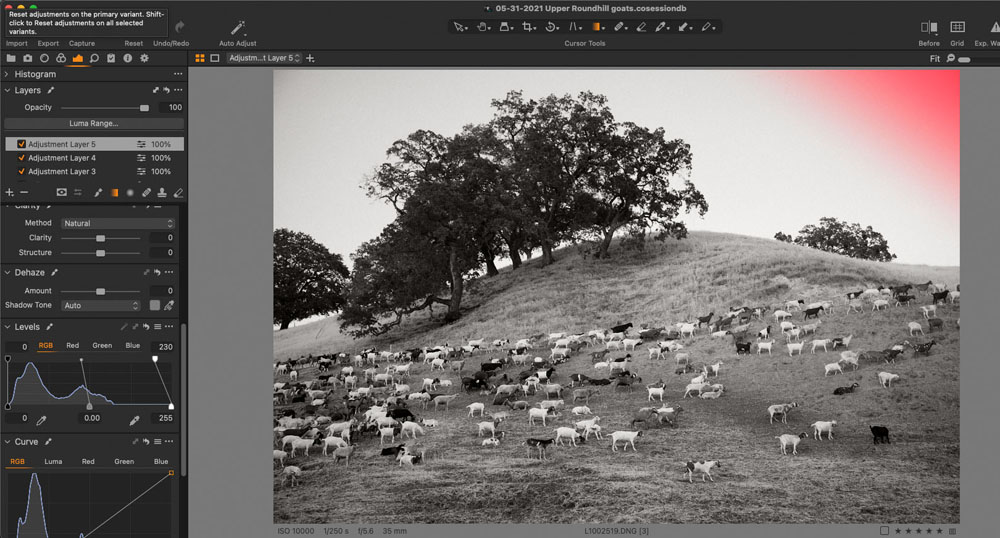
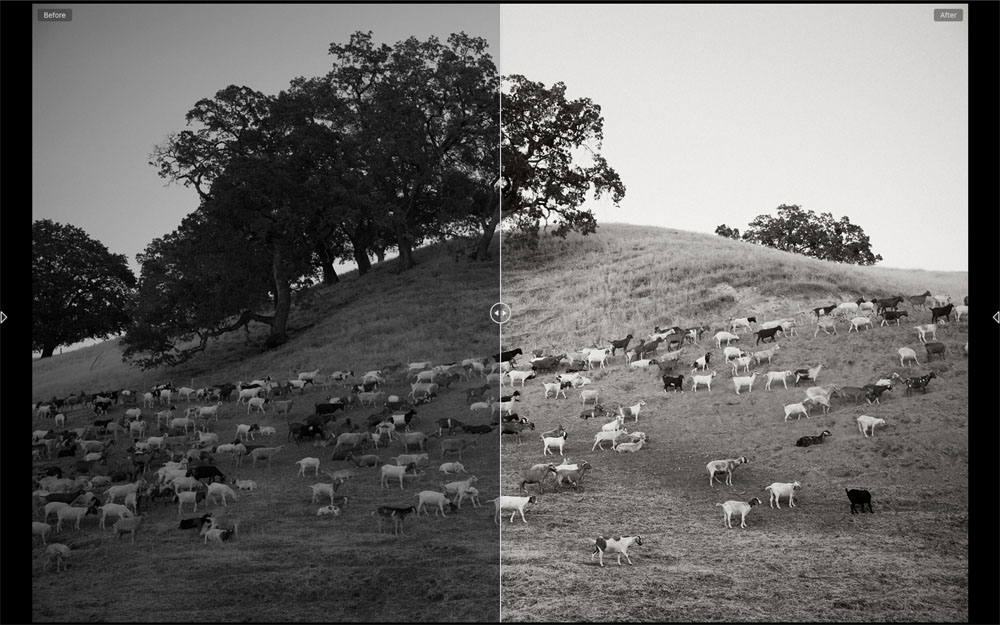
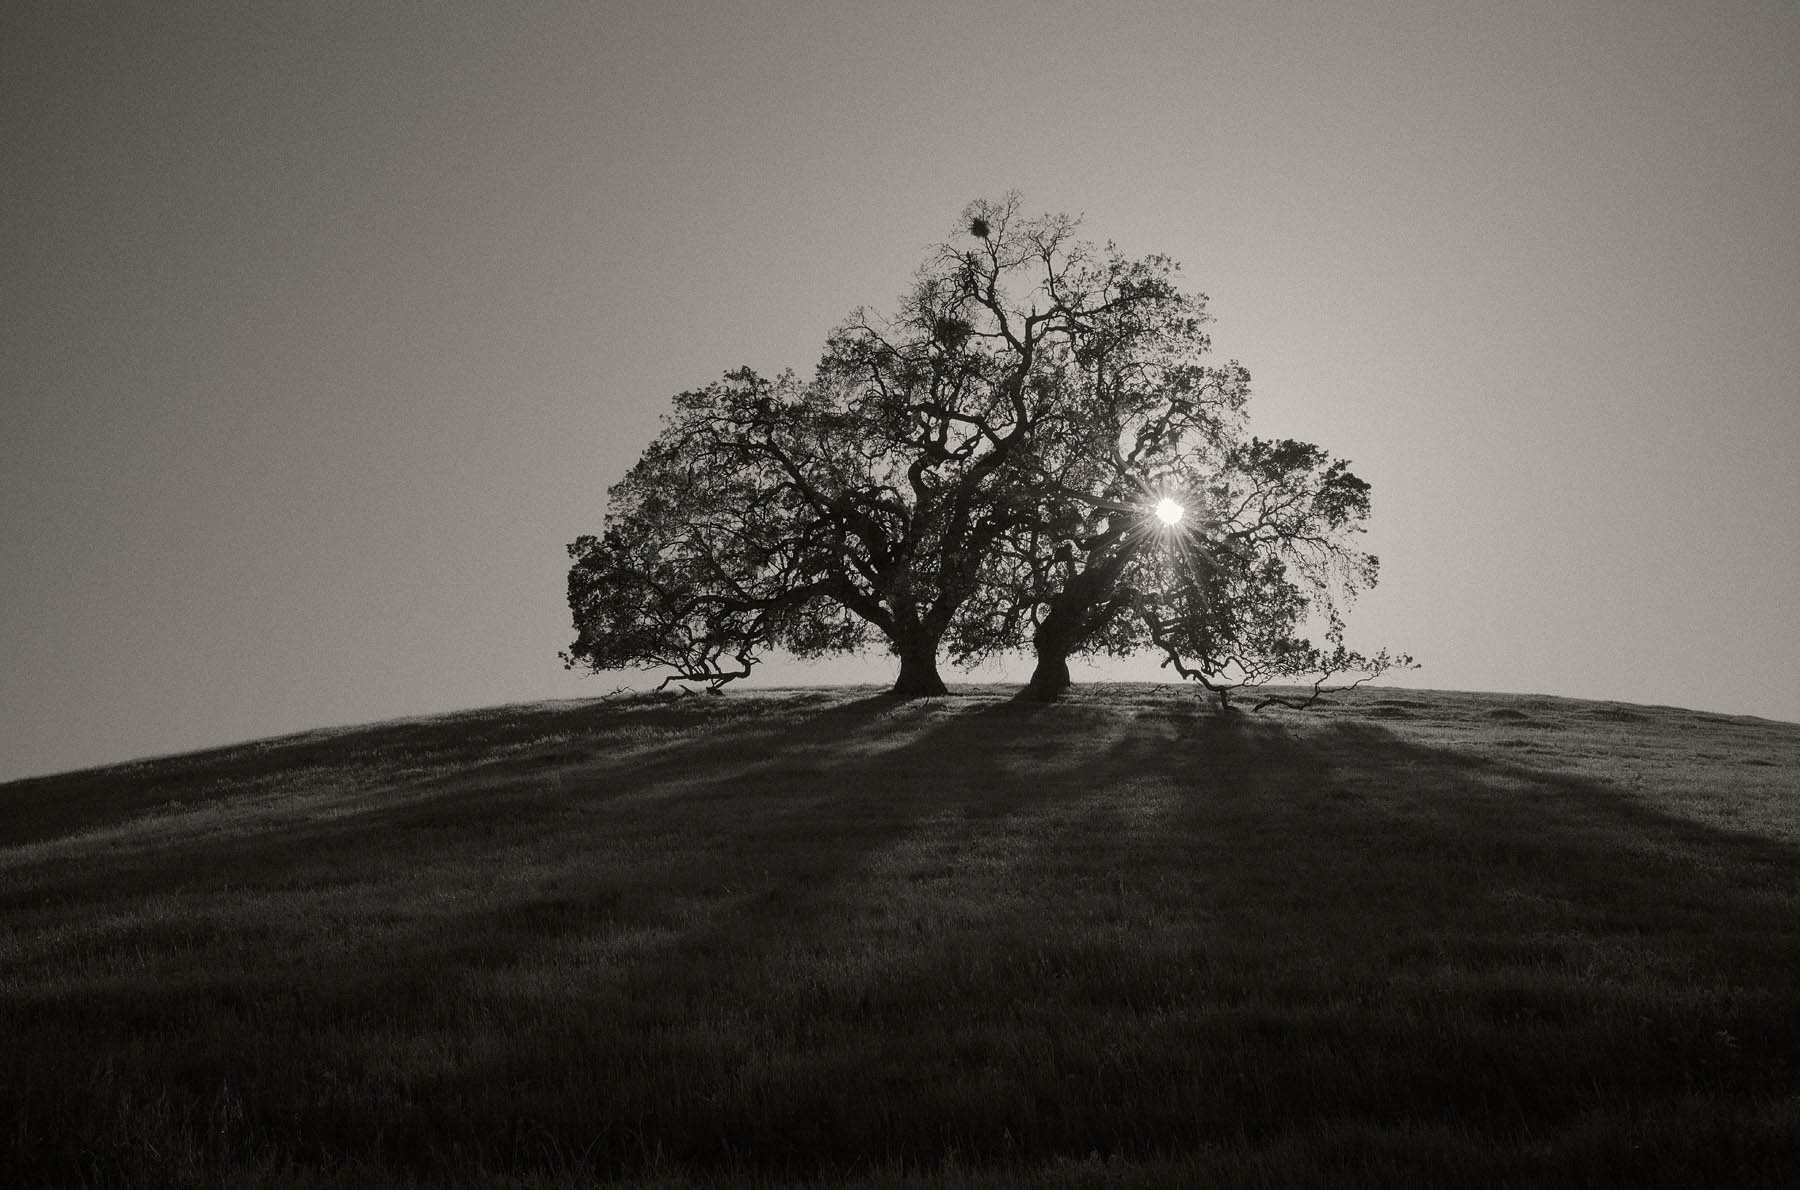
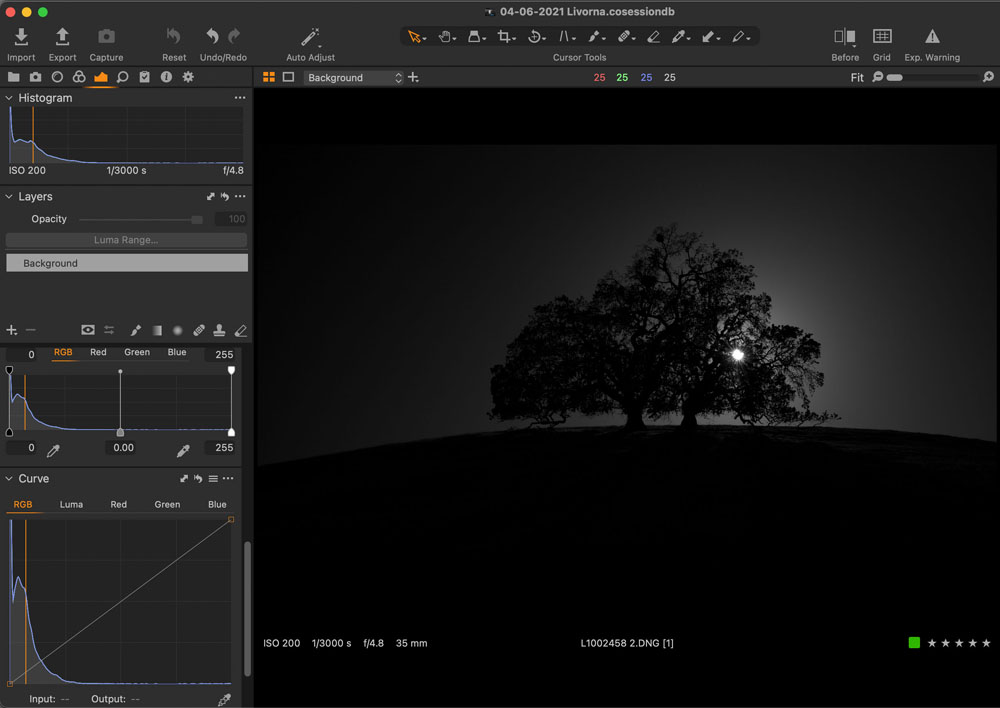
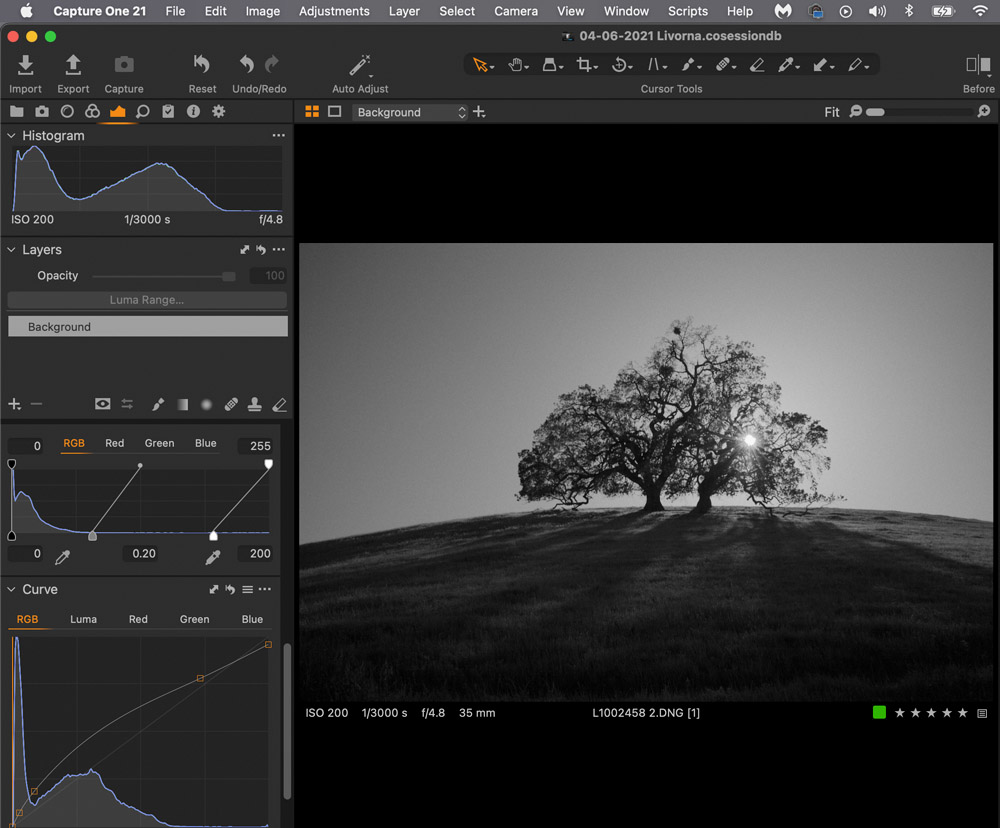
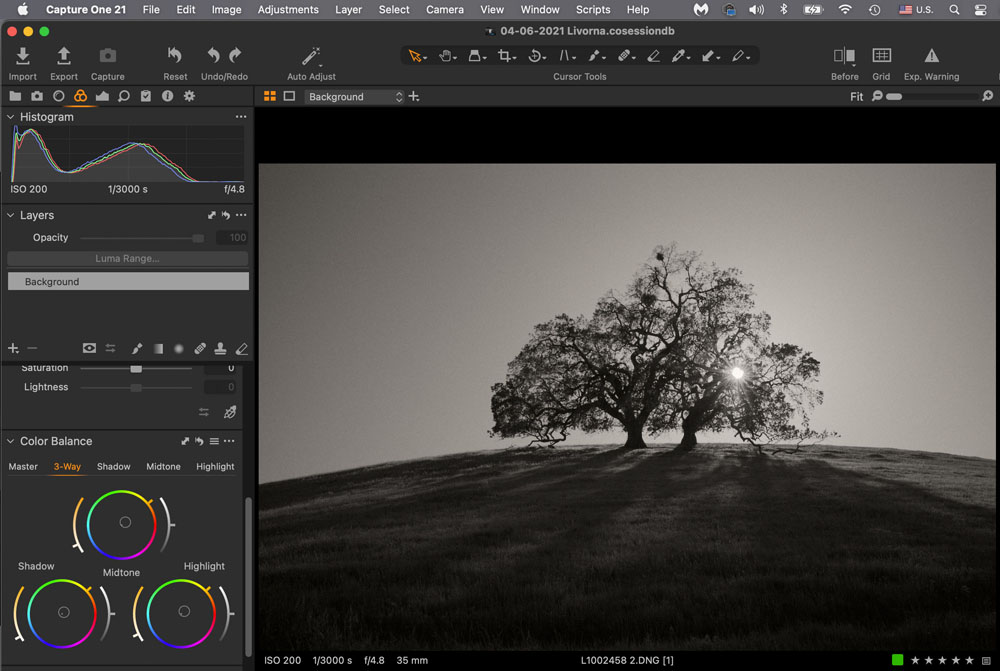
A how-to using a stock non-conversion Leica M10 Monochrom to make Infrared Landscape Photography images. A blending of exposure tips using the histogram with the Hoya R72 filter and processing the image in Capture One Pro. Also, use a light, sturdy tripod with a Visoflex 020 finder for precise focus.
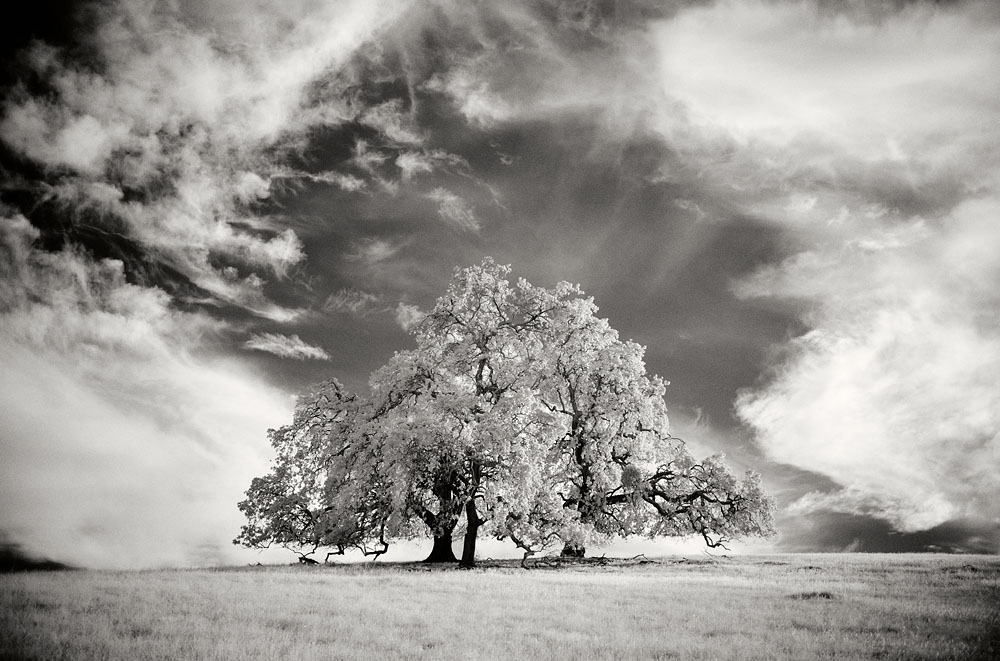
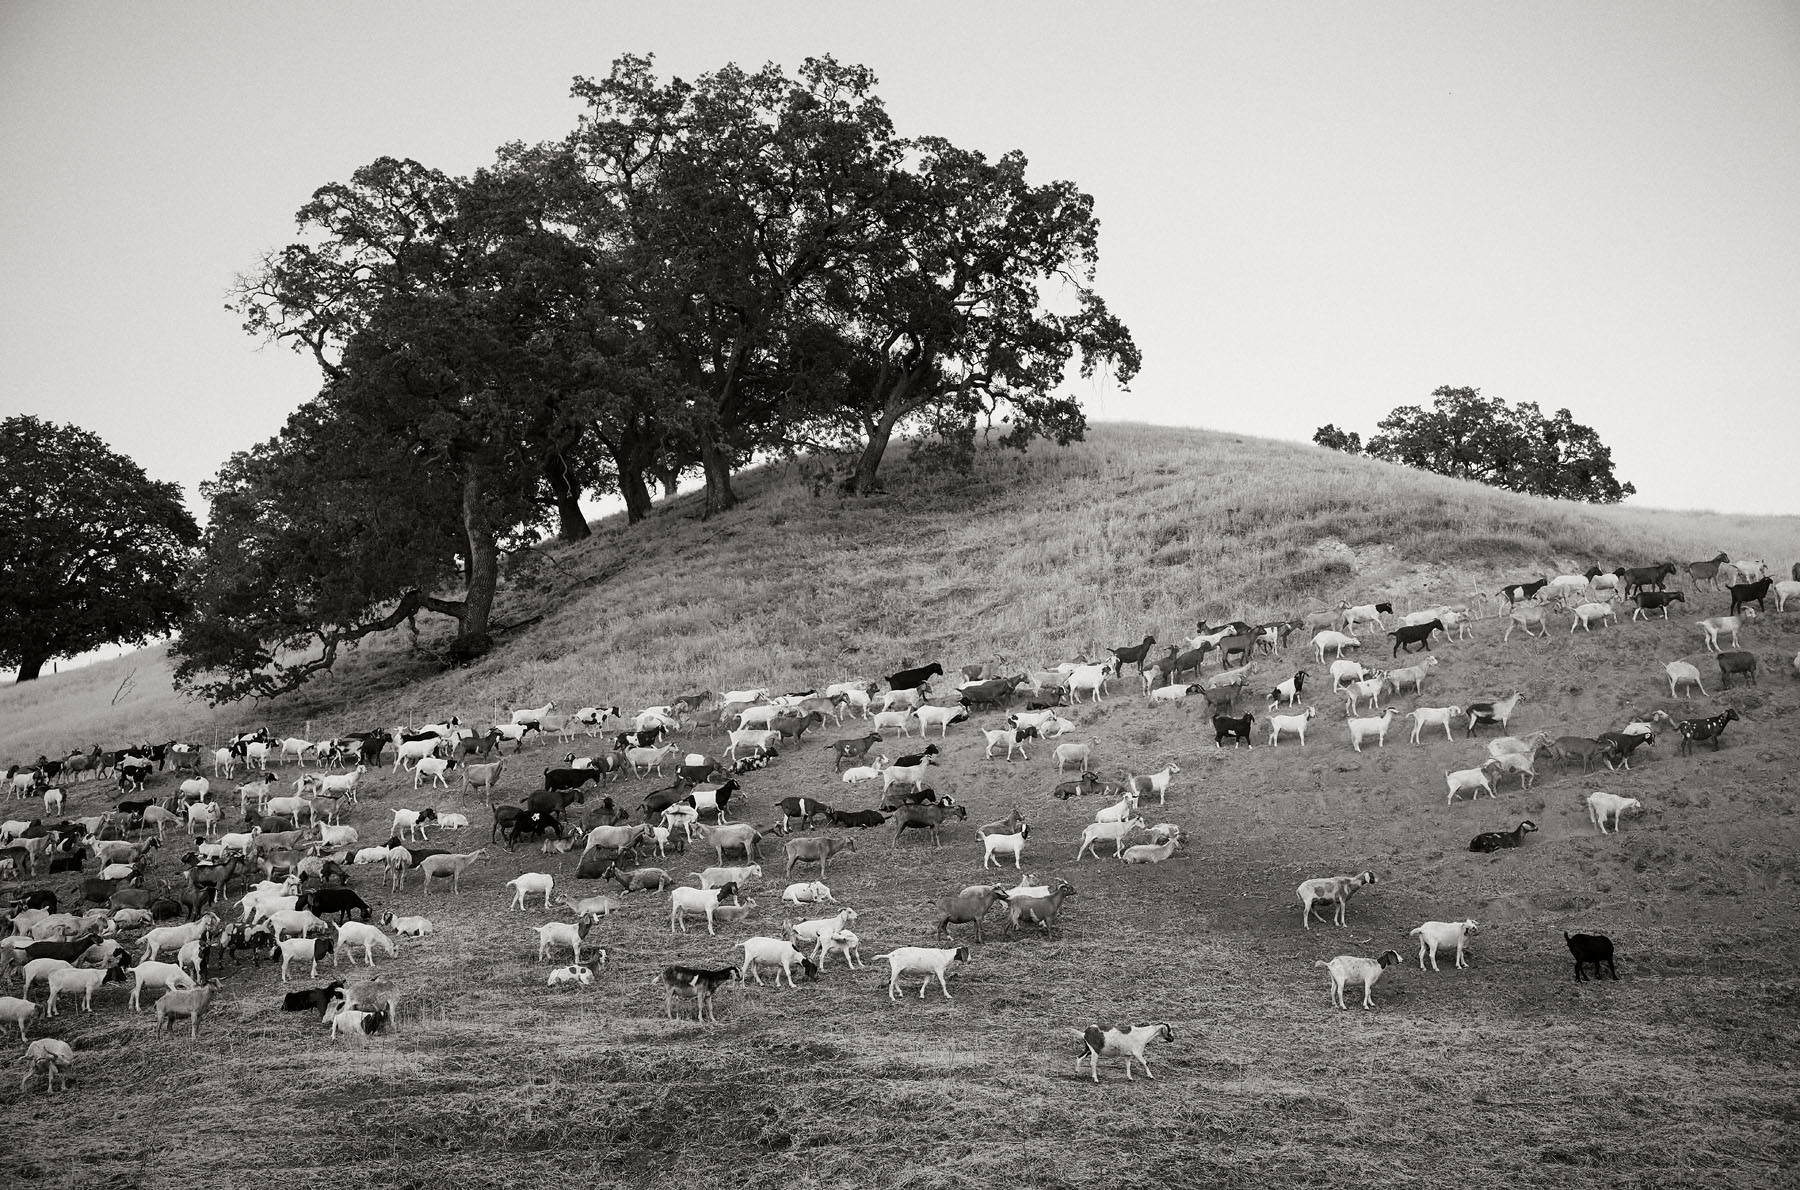
I’ll provide a sample image from start to finish. Let’s get started.
[Read more…] about Infrared Landscape Photography (A stock Leica M10 Monochrom)