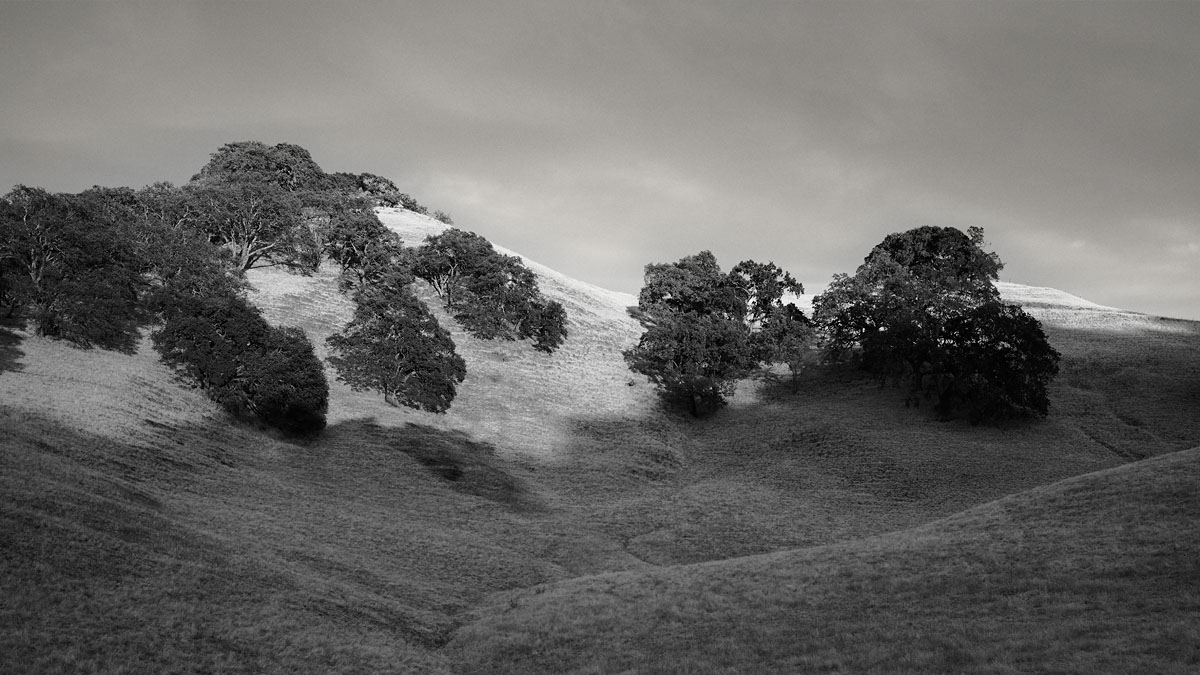
How to series on photographing. Part Two: Image Processing.

Adobe Lightroom Classic first.
So now that you shot an image with the correct exposure, what is next? Well, you will need to process the image in editing software. I will demonstrate in both Adobe Lightroom Classic and Capture One Pro.
I will demonstrate importing to Adobe Lightroom Classic first. This demonstration will be for Leica Monochrome images. Color images will have a couple of more tools to consider for image adjustments. More on this at the end of the discussion. I import images to an external SSD drive. I found a youtube video that shows how to set up an external disk catalog.
Take the memory card and mount it to your computer. Open the folder of images and copy them directly to the LR Images folder you made from the video. Then launch Lightroom Classic. On the menu, go to File-Find Catalogue. Find your external drive and open up the folders you just made, and you should find a .lrcat document with a Lightroom icon. Click or double-click that icon to select it. Then in the Library mode (designated by the menu on the top), click on the Import button on the bottom left column. Select your image(s) and click Import. In the menu, click on the menu tab “Develop.”
In the right-hand column, you will look for “Curves.” I like Curves because it’s a global tool in that when you create a steep curve, you increase overall contrast, and when you flatten the curve, you decrease the total contrast. Using this tool will allow toning an image without a pitfall of possible glow around specific parts of your image. You may look for a youtube video to demonstrate how a curve works in photo editing. You can experiment with the other tools, but know that the Curves are powerful and help you avoid image glowing.
Once I like the look, I right-click on the image to edit in Adobe Photoshop. In Photoshop, I will add a very slight color tint using Image-Adjustments-Selective Color. You will select the circle Absolute at the bottom for more color movement. You will edit by scrolling the color to Whites, Neutrals, and Blacks. In Whites, you can adjust the highlight tint to your liking. I like to minus 1 Cyan, add 1 Magenta and add 2 or 3 Yellow. In the Neutrals minus 1 Cyan, add one magenta and add 1 or 2 Yellow. And about the same for the Shadows. Visually look at the image for fine-tuning to your liking. Save your image, and that’s it.
So if you shoot color and want to convert to Black & White, you will need to click at the top Treatment row from “Color” to “Black & White in the left-hand column, then use the color sliders to fine-tune the filter effects. The use Curves to adjust the contrast and tones.
For those using Capture One Pro 20.
Launch the program and in the Menu scroll to New Session. Name the session and select a location on your external hard drive. Then mount the memory card and copy the images into the session on your external drive into the “Capture Folder.” Open the Capture One Pro 20 application and under the Library icon on the left, make sure the session you created is selected and click the Capture folder to see your imports.
Capture One Pro has two items in the left column “Exposure” tab. Level and Curves. I
Capture One Pro has two items in the left column “Exposure” tab. Level and Curves. I use curves for global contrast and image enhancements and Levels to sometimes globally open up the middle to three-quarter tones.
Global edits will stop halos in your image. In curves, you have two chances to make curve edits, One in Luma and one in RGB. Use Dynamic Range sliders sparingly to avoid halos. I also add grain to my images, which is in the magnifier glass icon named “Details.” Make sure you make these adjustments at 100% to see the effect you are giving.
Also, under the “Color” icon in the left-side column, you can add tint to your image. Scroll to Balance and select the three-way color wheel. I like to add a touch of warmth in all three, but experiment and use the sliders sparingly to create your expression. That about covers the fundamental aspects of image toning for both programs. If you shoot color and want to edit in Grayscale, Under the Color icon, you have a Black & White tool. You will need to check the Enable Black & White button. Comment if you have any questions or comments. Thank you!