So you ask, where do you start with Twilight Photography? Well, let’s start with some of the terms and tools you will need or consider for the shoot. Tethering, Tripod, Remote, Capture One Pro 20 software, Canon camera, fast 85mm 1.2L, ISO, White Balance, Tint, Bokeh, and Monitor Calibration are things you will read about in this article.
I like to tether my camera to my laptop, so to do that, you need at least a USB capable camera and a USB cable to tether to your USB port on your computer. TetherTools sells the connectors 15′ to make the connection. Your camera may ship with a USB connector, but it will be limited in length. You could also use your rear screen on the camera, but tethered is preferred for reasons detailed later in this story. For those shooting for a print publication, you may consider laptop calibration. I use X-Rite’s i1 Display Pro.
The software to tether is your choice. I use Capture One Pro 20. Lightroom Classic will also work. You will need to make sure your camera is supported. https://www.captureone.com/en/resources/tech-specs
https://helpx.adobe.com/lightroom-classic/kb/tethered-camera-support.html
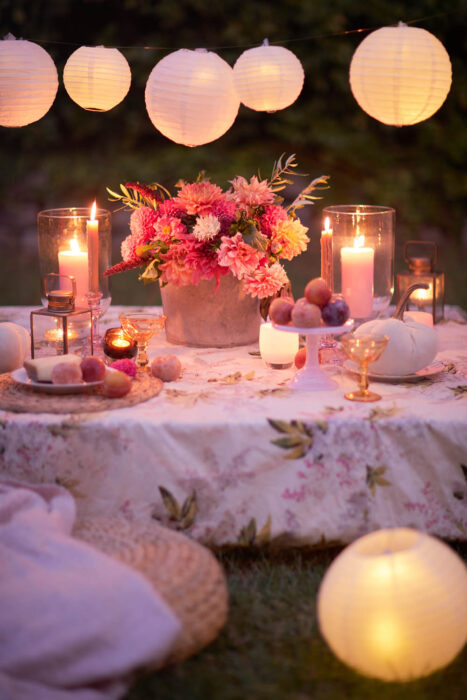
So, now that you have the background tools for twilight photography, let’s explore the photoshoot. Get an early start on August 30! Sunset on this day was 7:30 pm. I collaborated with my sister on this project for her blog www.happyhappynester.com. We started to set up at about 6:30 pm. Around 8:30 pm, the photo began to take shape. Still plenty of natural light at this point.
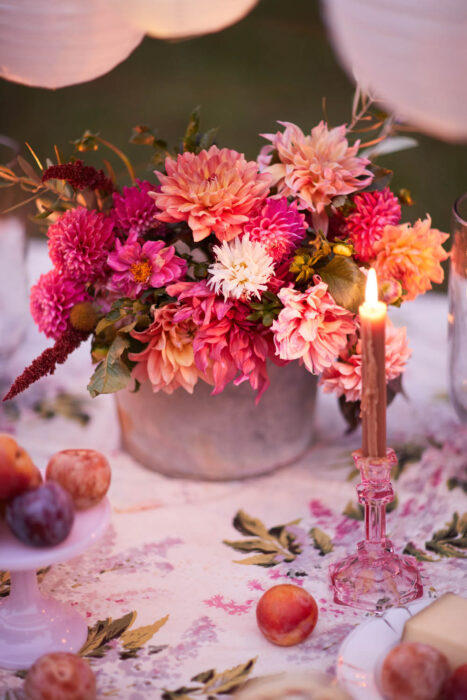
I decided to use an 85mm 1.2L Canon lens wide open @ 1.2 aperture using my Canon 5D Mark IV camera. An 85 1.4 will also give you a nice effect wide open. If you have an APS-C like a Canon 7D series camera, a 50mm 1.2L lens will provide you with a similar bokeh effect. A 50mm 1.4 will also give you a nice effect. Whatever the lens you shoot, shoot it at the widest aperture for maximum bokeh.
I also like to shoot Raw+Jpeg. Raw images are more flexible for processing. I also shoot at a white balance of 5200 K. For those that aren’t too technical, Auto White Balance should be okay.
Use a tripod. It provides camera stability. I use a Canon remote release, but alternately you could use a two-second self-timer to avoid camera shake.
While you are shooting the session, the images will appear on your laptop, and you can edit them and check focus and composition, which is much easier than the 3″ screen on the back of the camera. The software allows tweaks as you shoot, which can be helpful.
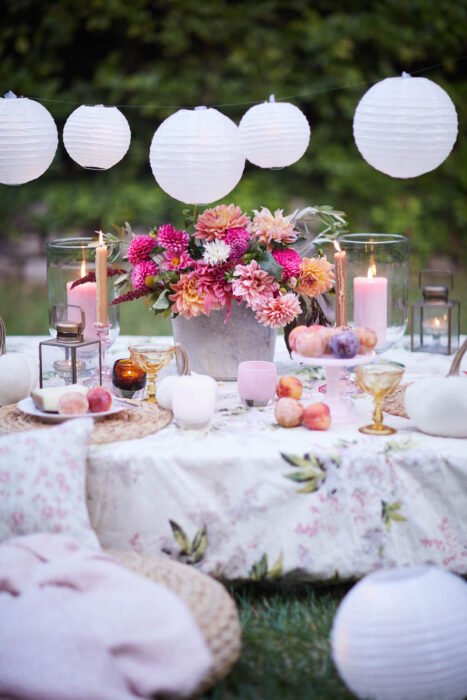
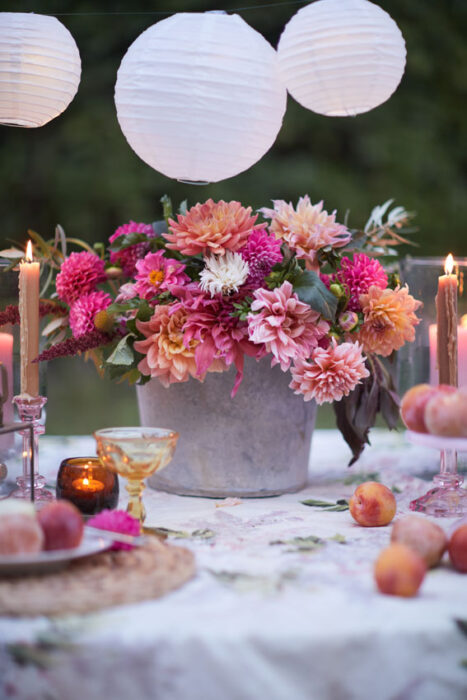
This image has little LED lights in the lantern and candles, so you continue to shoot until the lanterns glow nicely with the twilight. This balance happened about one and a half hours after sunset! The ISO is 400 for the last images, which produced a 1/20th exposure time. The final color temperature was about 4850K and tint of around 9. Probably more info than you care to know.
I hope this gives you a better understanding of how to approach twilight photography. If you have any questions, please comment below. Thanks and happy shooting!