I share A professional insight for processing a challenging digital image using years of experience. Processing can be very personal to an extent, but establishing core strengths in a classic print look can be worth a lot for a photographer at any level.

The photo starts with a frame and an exposure. As I hike in the hills we find some goats on the trail. The trail leads into a canyon that is already in shade in the late evening. I find a frame that I like and frame it up. The camera is on auto-ISO with 1/250 shutter speed and ƒ/5.6 aperture with an orange filter. The camera selects ISO 10,000. I click the shutter and view a pretty good exposure on the LCD screen. Later after the hike I import the image into the software on the laptop, and I see this file below.
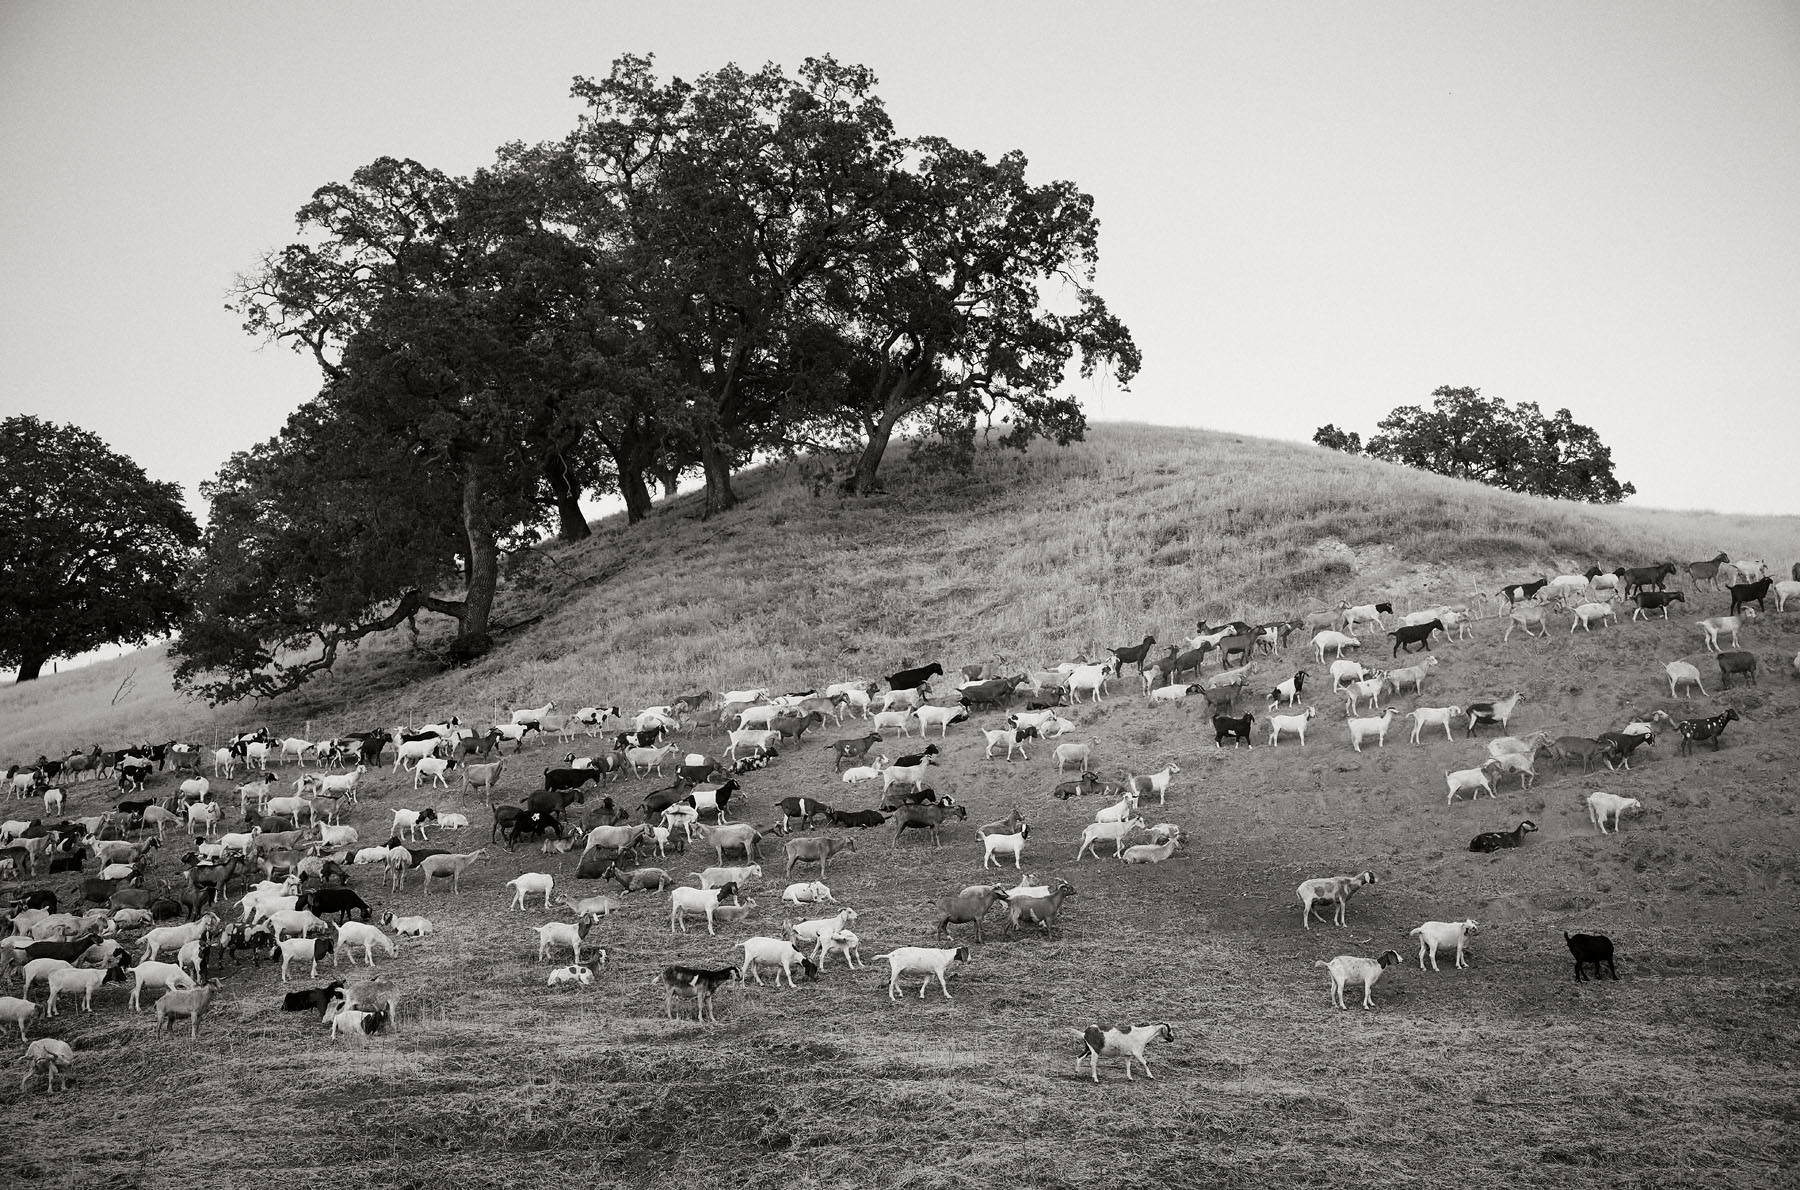
The file as you see is dark, but with some direction and toning it will reach the quality of the final image full of tones and contrast that will match the light of the twilight mood.
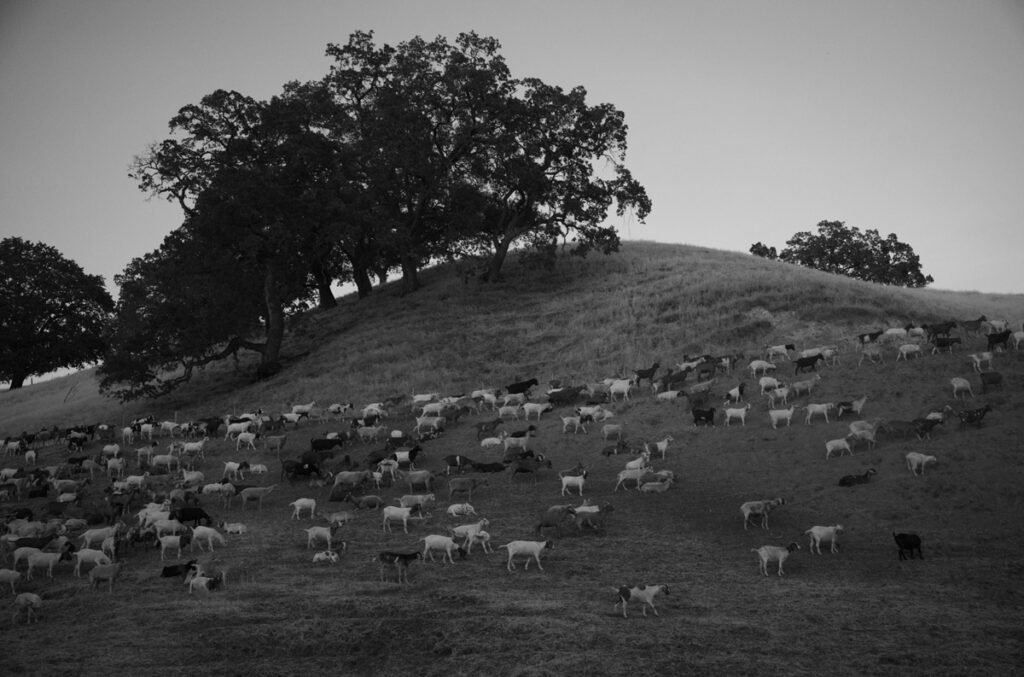
The first thing I do is to lighten the overall exposure, but gently. Using curves and levels to lighten the image. These are global adjustments. Knowing that I have several layers to optimize the image I want to make adjustments in small increments.

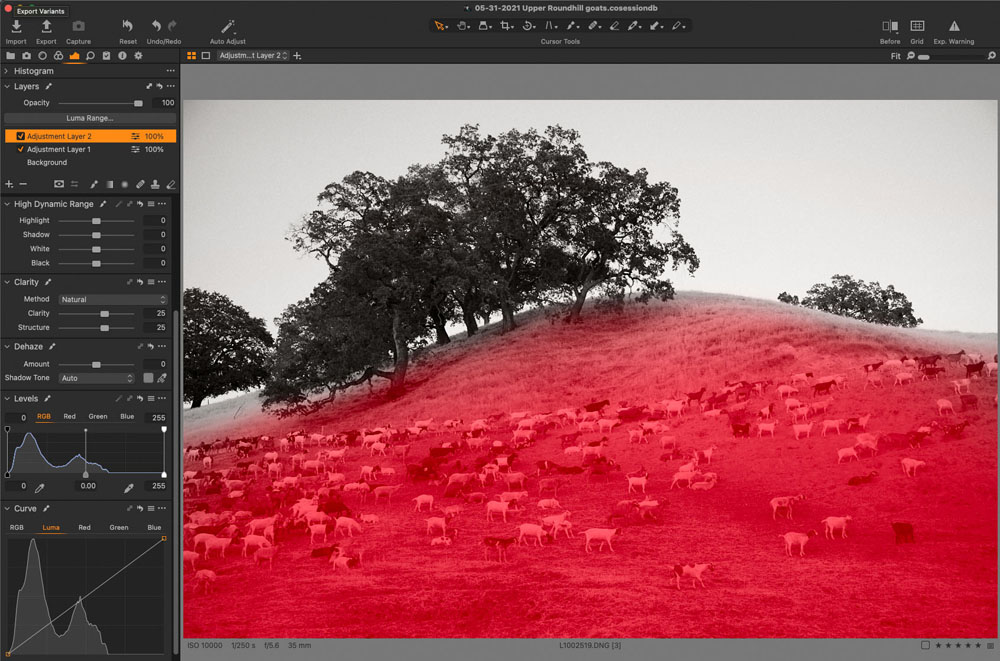
The next steps involve increasing the contrast within the entire image with curves and clarity only applied to the hillside as seen with the masks in the illustrations below. Clarity is used sparingly since it can create halos if you not careful.
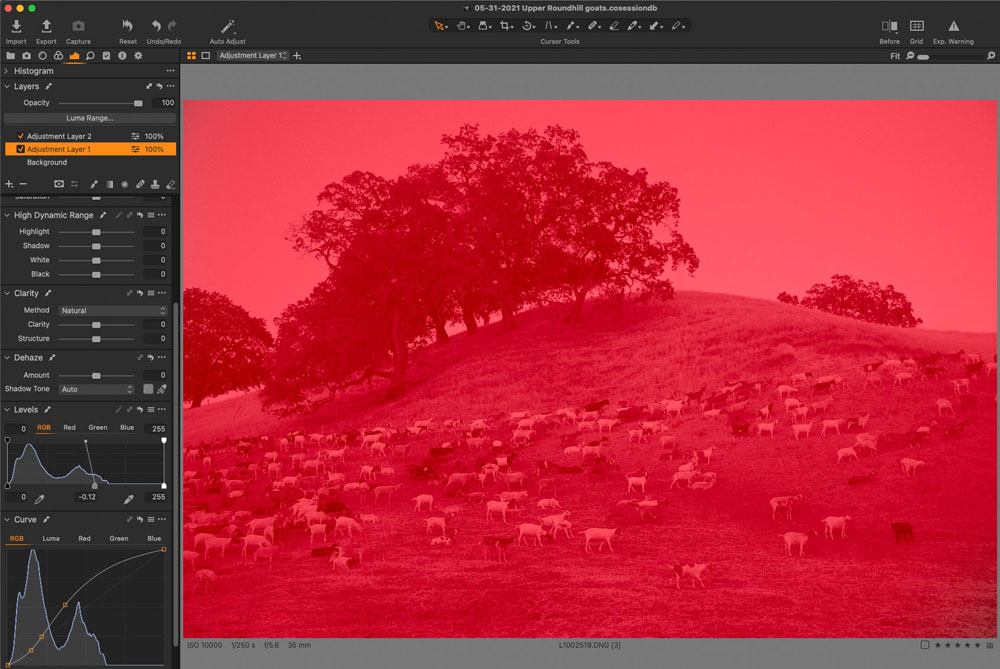
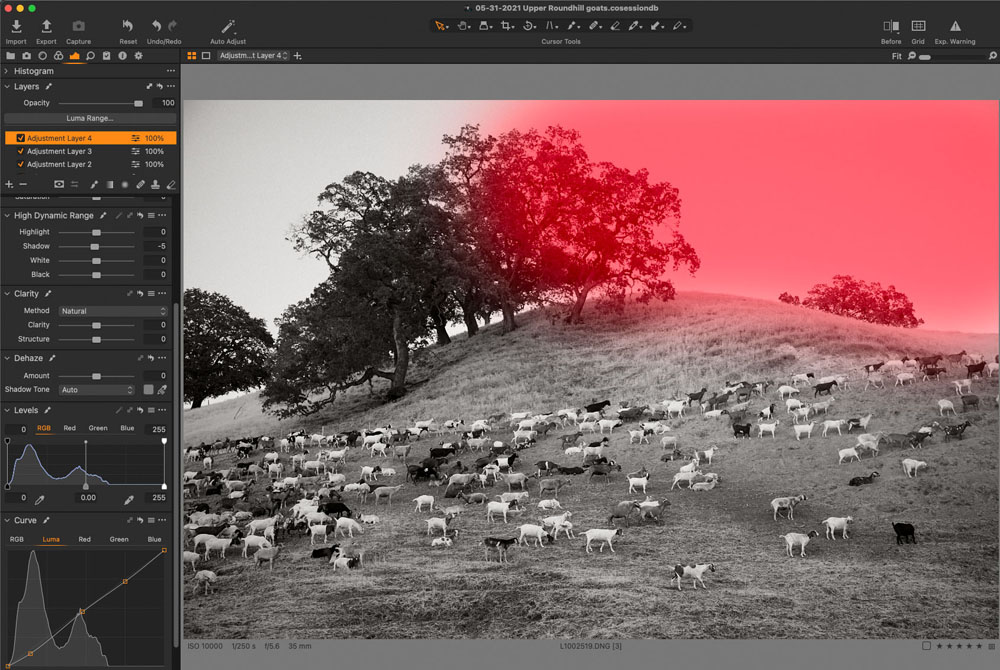
Lastly I will darken the sky and tree on the right with a mask and a final gradient mask to create a slight vignette to match the left upper corner. Illustrations are in the images below.
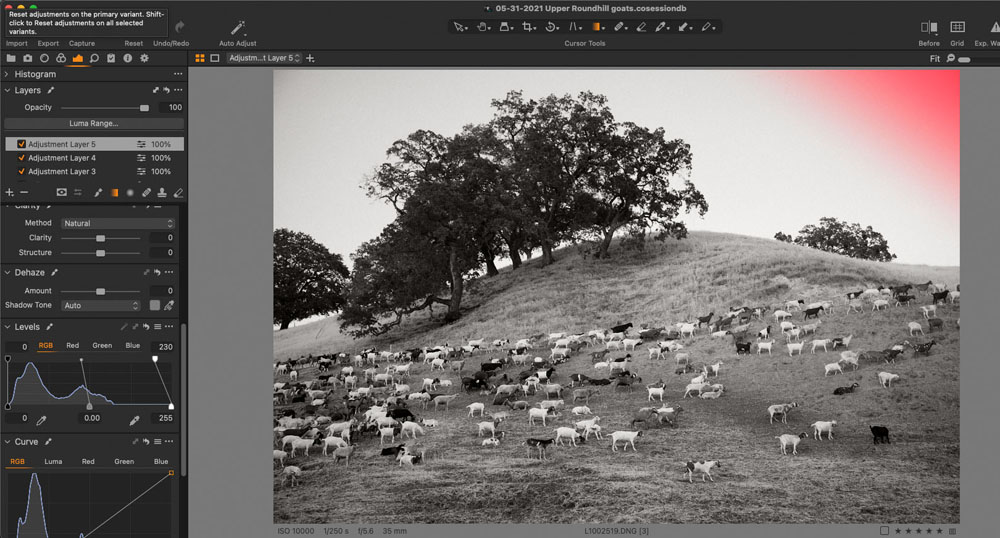
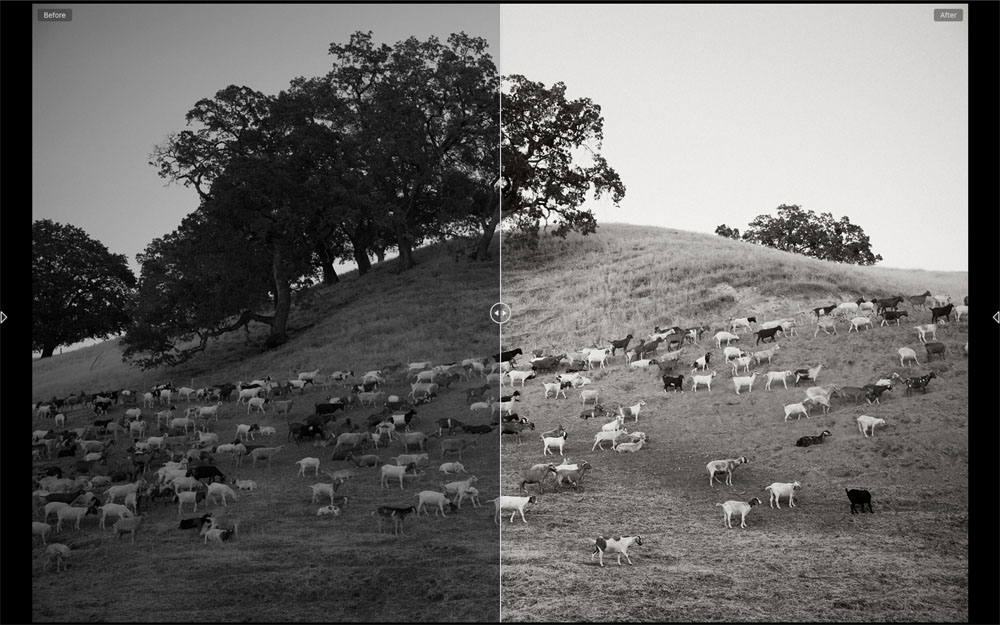
Let’s see how far this image as progressed. I added grain and sharpening and a tint using the three-way color wheel. Below is the before and after image. I hope I displayed a professional insight for processing a challenging digital image.