I’m excited to share my findings on Infrared Photography Tips (Leica M10Monochrom.) Using an infrared filter on a stock camera. I think you will be pleased with the results nonetheless.
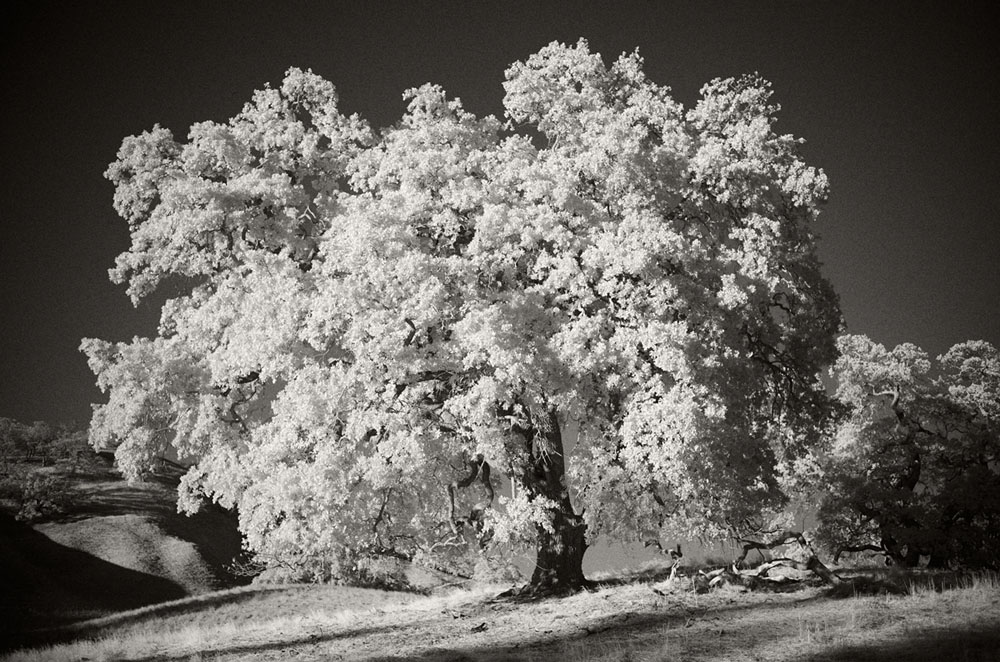
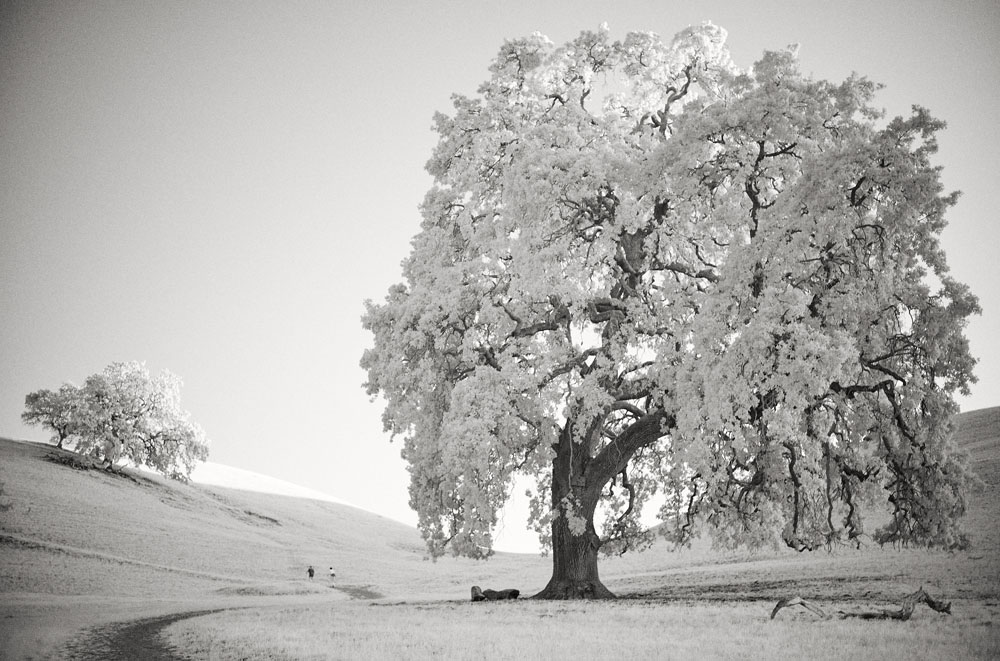
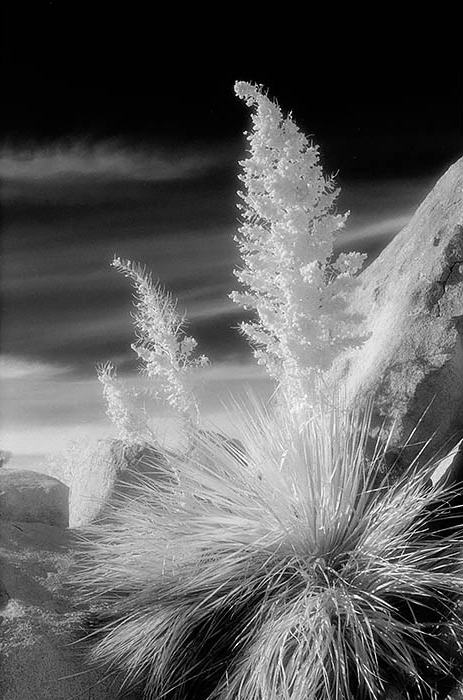
A few striking image samples are below with an R72 filter on a Leica M10Monochrom.


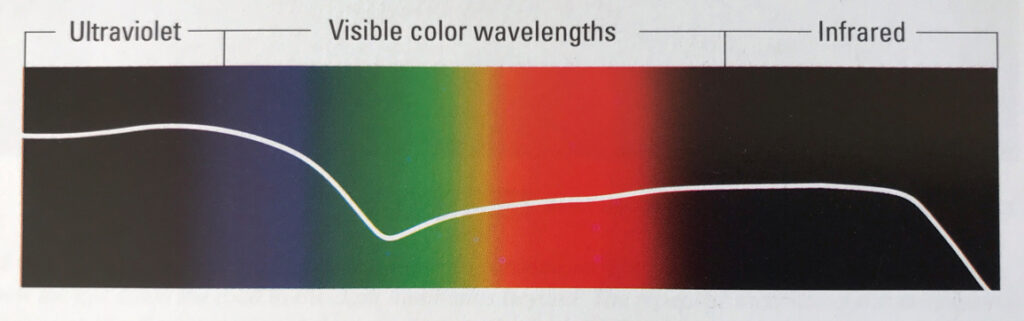
So what is infrared?
Light is represented on a scale from left to right, starting with ultraviolet, visible color wavelengths in the middle, and infrared to the right. Our eyes can only see visible color wavelengths. Infrared wavelengths respond as heat. When you see a photo taken in infrared, it’s beyond what a human can see. Infrared is the warmth we feel when the sun hits our arms. The warmth is infrared.
In the 1990’s I shot Kodak HIE, a high-speed infrared film. I enjoyed the look and created some beautiful images. Unfortunately, Kodak halted production in 2007. I’ve wanted to get a digital camera converted to infrared.
The other month an Instagram photographer Christoph @croptz posted photos with a Leica M10M and an R72 filter (infrared filter). His images were wonderful. I DM’d the photographer, and he mentioned that he shot the photos with a Leica M10M without conversion, so if you don’t have a Leica M10M, follow some easy steps to see if your camera is sensitive to the infrared spectrum. Hopefully, these infrared photography tips will be helpful.
The first step to see if your camera is sensitive to infrared is simple. Find a T.V. remote. Set your camera on Auto ISO and a shutter speed of 1/125. Do this indoors and use an aperture of f/2.0 or so. Show the remote on Live View. Then press the remote’s “Power” button. If you can see a light from the remote on the Live View monitor, your camera can shoot infrared. The brighter, the higher the sensitivity to infrared.

After you figure out your camera qualifies, you need to purchase an infrared filter. I’ve been using the R72 by Hoya. B+W has a 092 filter that will work with less of an effect. My settings with my camera are ISO 5000-10000 at f/1.4-f/2.0 @ 1/125th second with the R72 filter in daylight. Your settings will vary depending on the camera’s I.R. sensitivity. The photo above shows that my Canon 5D Mark IV is slightly sensitive to infrared light, but I haven’t tested the camera with a filter yet. If your settings drop below 1/focal length shutter speed, you may consider using a tripod to avoid camera shake. A tripod could be handy if you want to shoot at a higher aperture or a lower ISO.
A note on fine-tuning your image: I shoot on Auto-ISO and have exposure simulation, clipping warning indicators engaged. If I see that the highlights are too bright, I can adjust the exposure with “exposure compensation.” You can use “Live View” or a “Visoflex” to punch in for focus. Infrared shifts focus, so confirm focus.
Another way to shoot would be to go “Manual.” In the days of film infrared, I would sometimes bracket the shot. If you shoot in manual, set the ISO at 3200 for starters. Then when you get your exposure, you add a bracket +1 stop and -1 stop—giving you some latitude in processing or toning the image.
A sample image with a step-by-step processing guide using Capture One Pro 21 software. Hopefully, these Infrared Photography Tips (Leica M10Monochrom) are helpful.
I shoot monochrome and not color, so my example will be monochrome.
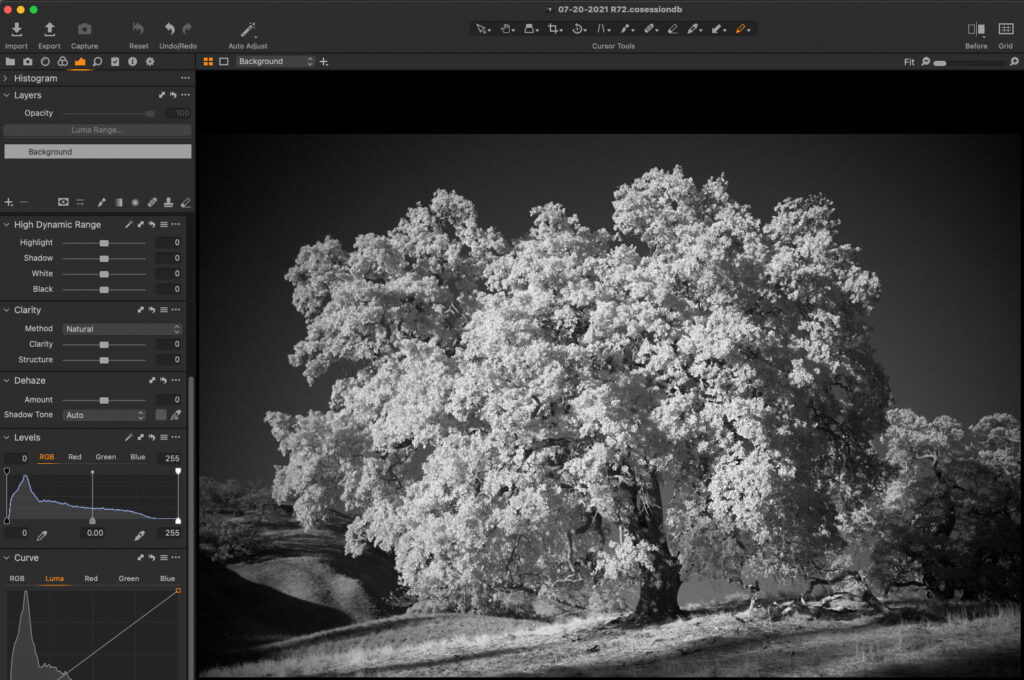
The exposure is ISO 10000 @ f/2.0 at 1/125th of a second. Plenty of detail in the original file. The first processing move is to lighten the highlights and open the 3/4 tones just a little. I use the “Curve” tool to make that adjustment.
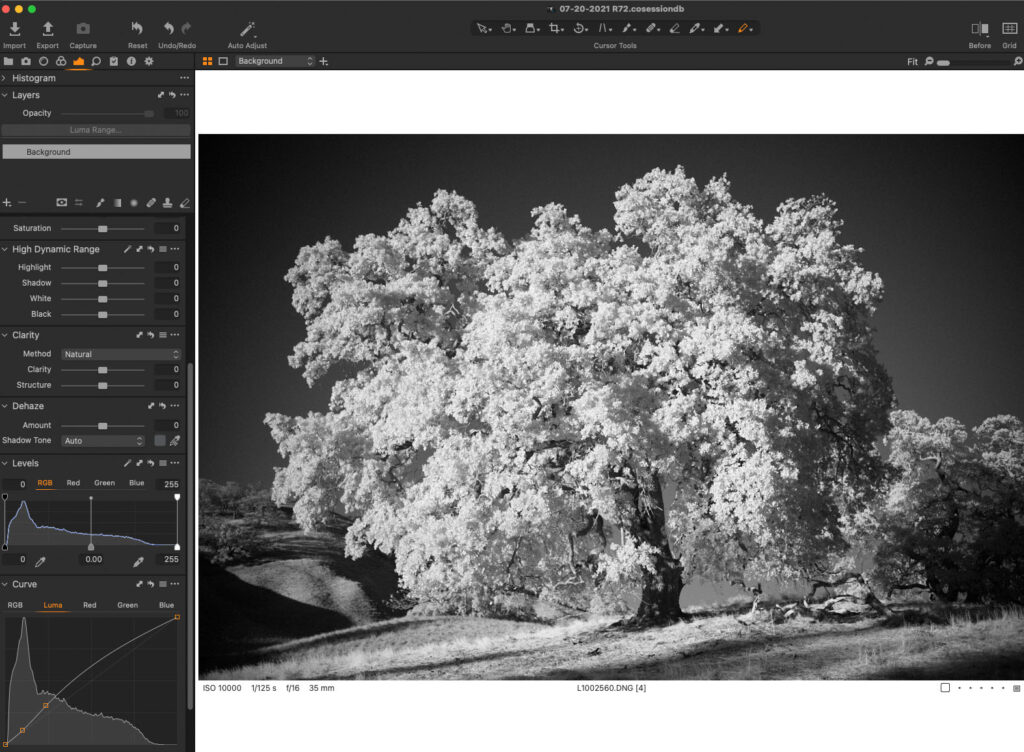
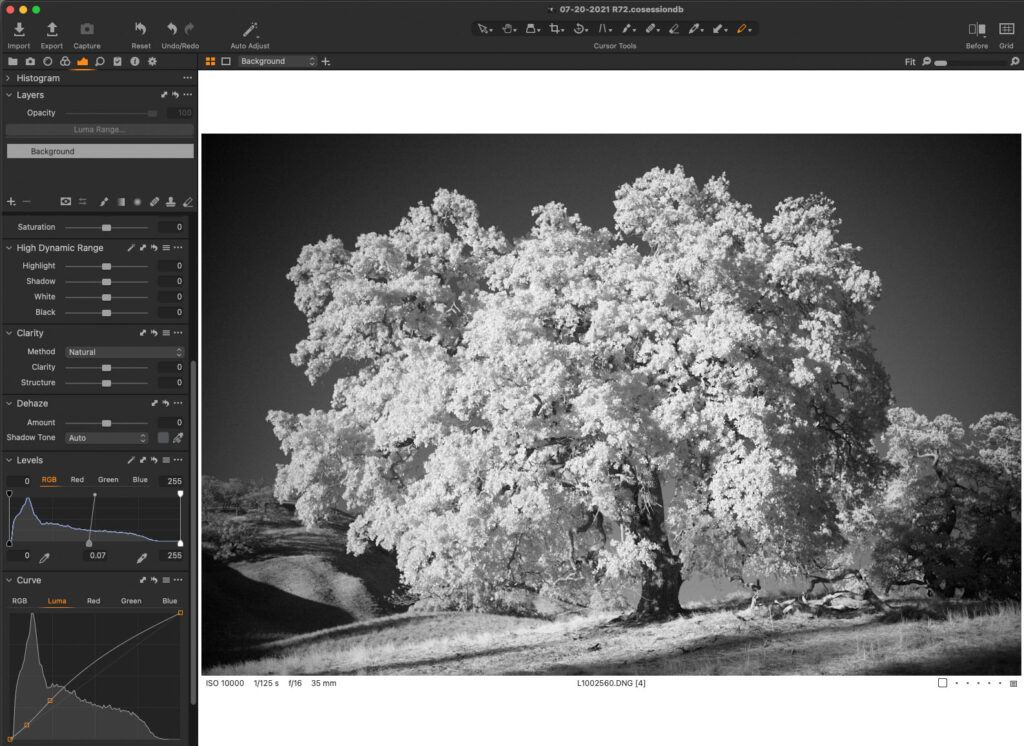
The second adjustment is with “Levels.” I move the “Midtones” to the left slightly to open them.
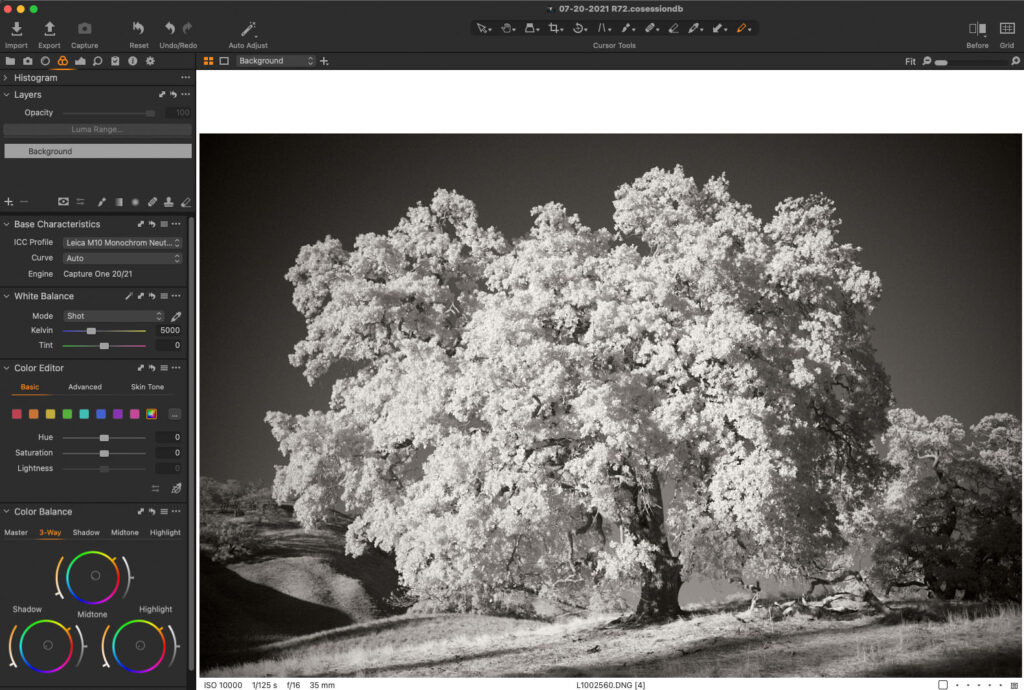
The following adjustment is “Color Balance” with the “3-Way” editor. I’m going to add warmth somewhat to the image in “Shadow,” “Midtone,” and “Highlight.”
Next, I will add “Grain” and adjust “Noise.” Select a type of grain like “Soft Grain.” Reduce the “Details” slider in “Noise” to half for an analog look.
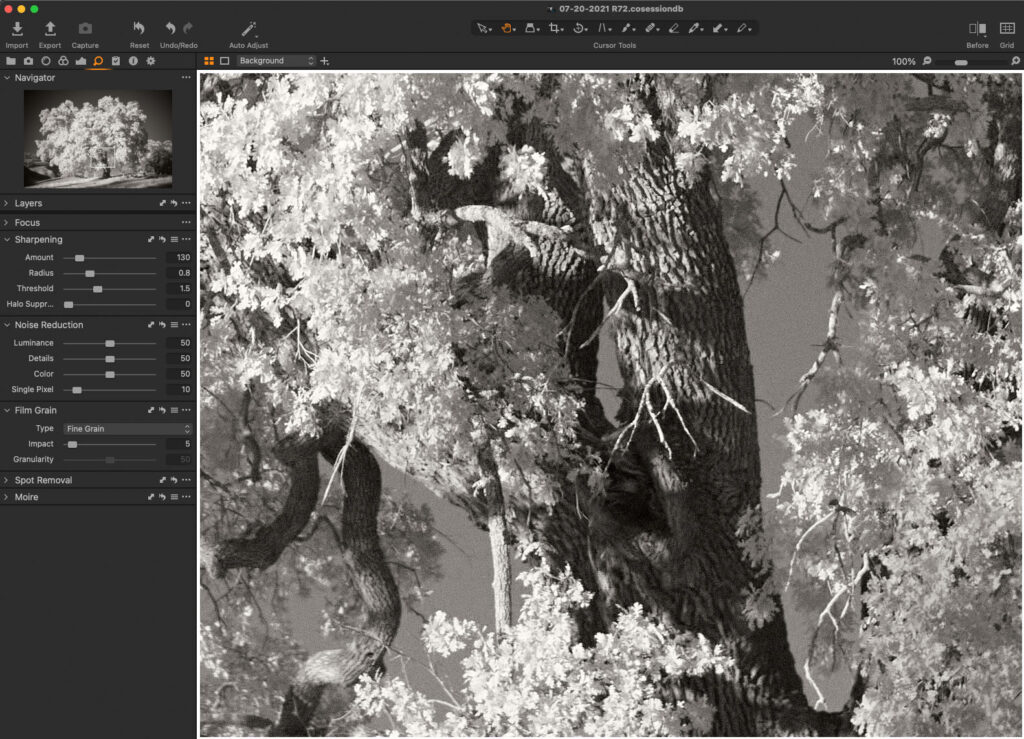
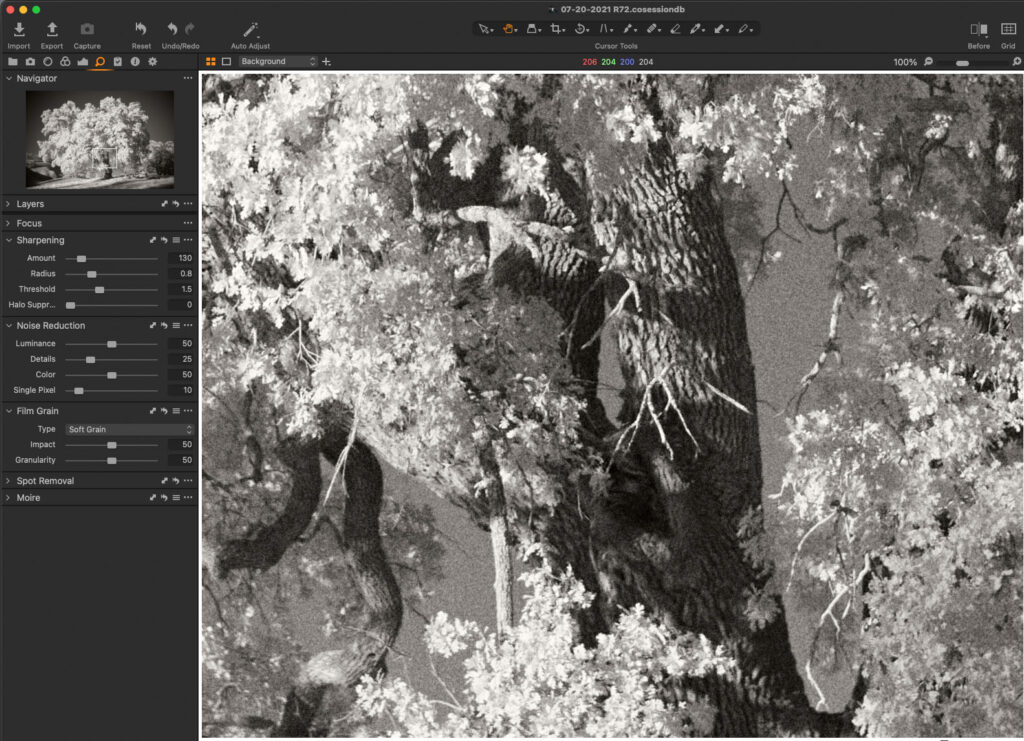
The before and after comparison in regards to sharpness, noise, and grain.
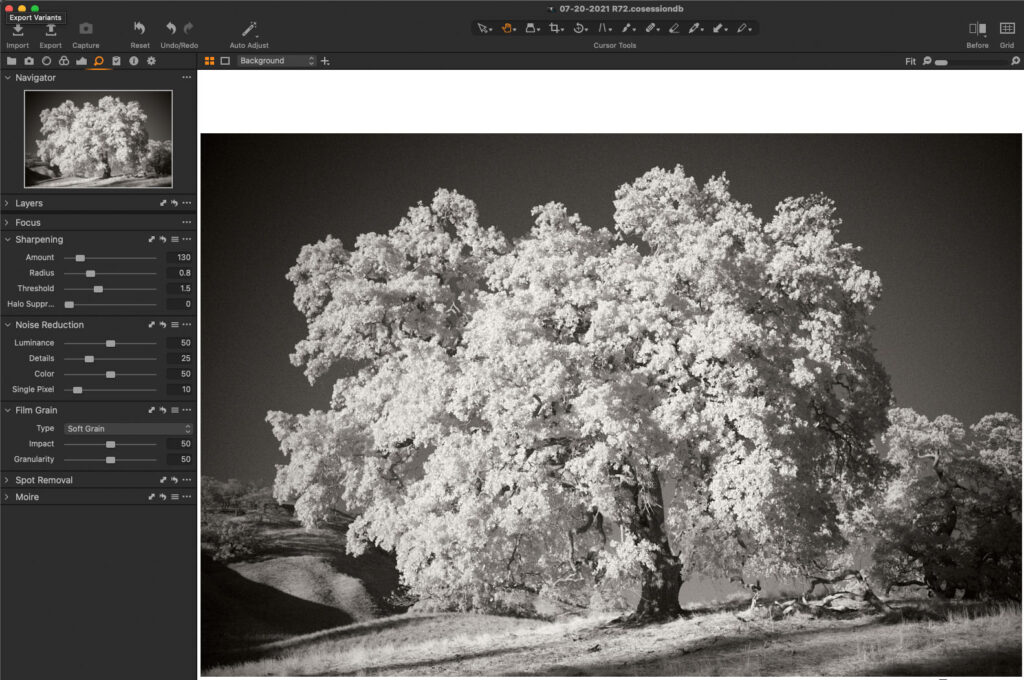
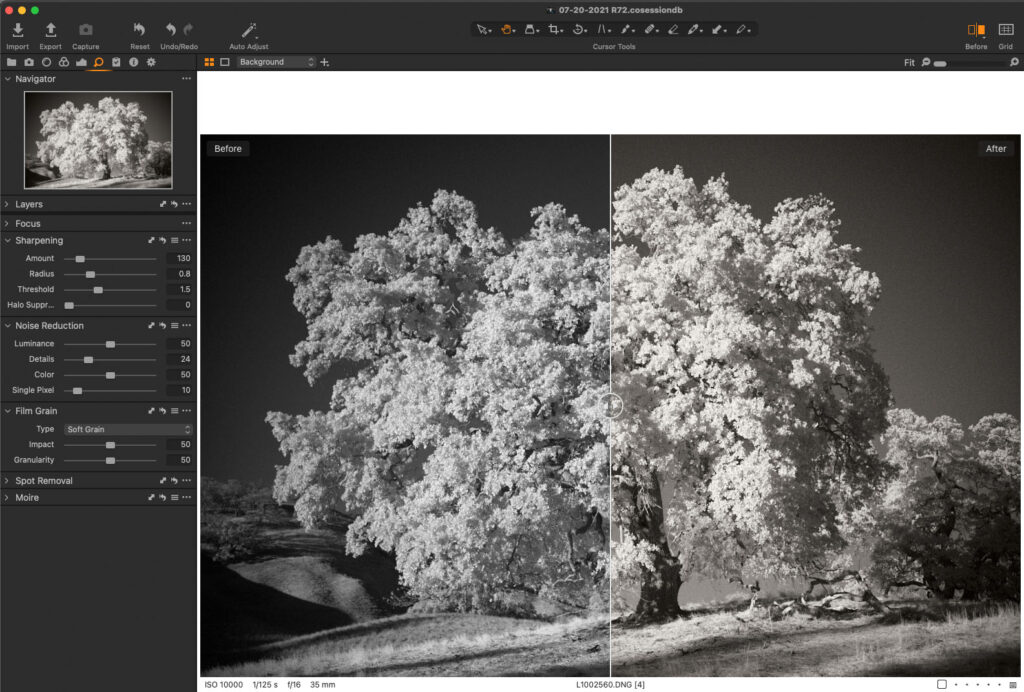
The final image is a split comparison showing the photo before and after processing.
The last image is the final result.