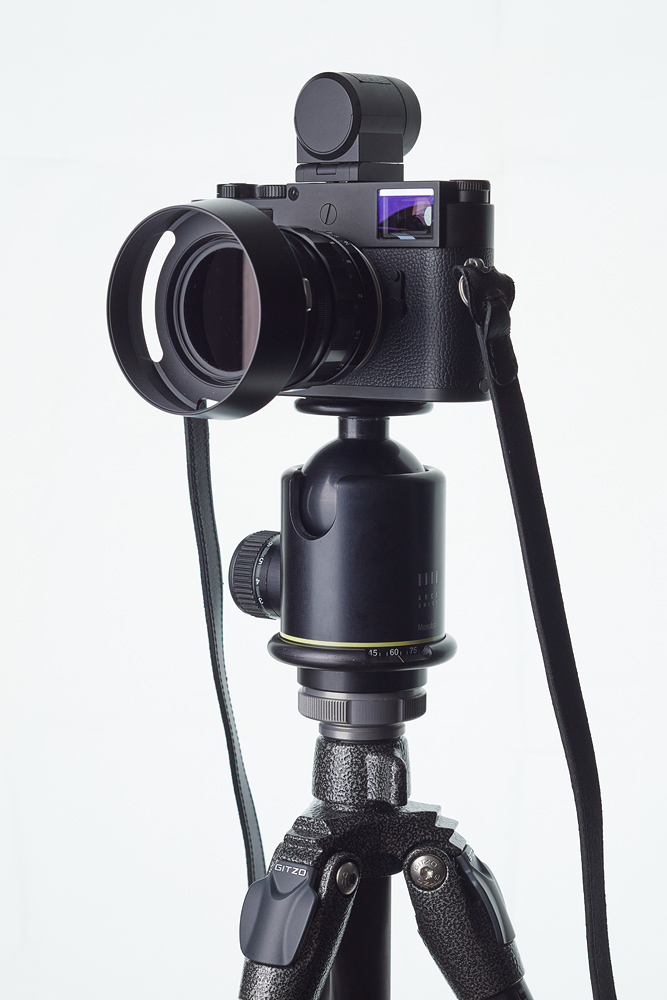
A how-to using a stock non-conversion Leica M10 Monochrom to make Infrared Landscape Photography images. A blending of exposure tips using the histogram with the Hoya R72 filter and processing the image in Capture One Pro. Also, use a light, sturdy tripod with a Visoflex 020 finder for precise focus.
I’ll provide a sample image from start to finish. Let’s get started.
Last year while browsing Instagram, I found a photographer’s feed that included infrared photos with his non-converted Leica M10 Monochrom. My last post mentions my start with digital infrared. At that point, I was interested in Infrared Landscape Photography with my camera. In the past, I shot Kodak HIE infrared film and enjoyed the images I made. Moving forward to digital and without an infrared camera conversion was perfect for me.
Note: I think you might be able to shoot infrared similarly with a Leica Q2 Monochrom or Leica M246 Monochrom. I just haven’t tried those two cameras yet. Also, in my last post, I have a test for any camera to see if the base camera is sensitive to infrared.
Infrared Landscape Photography
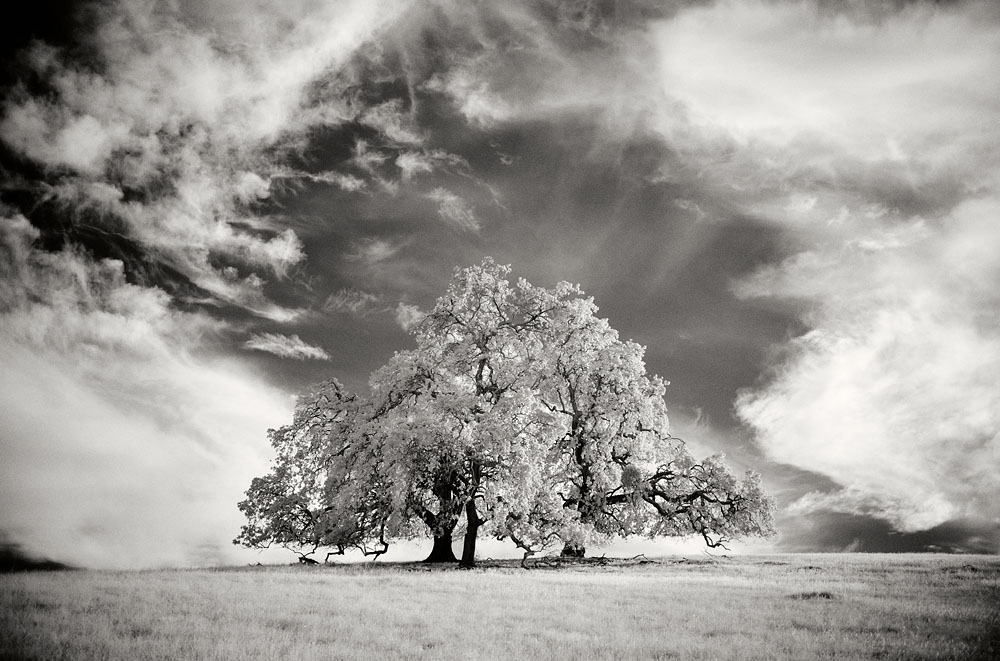
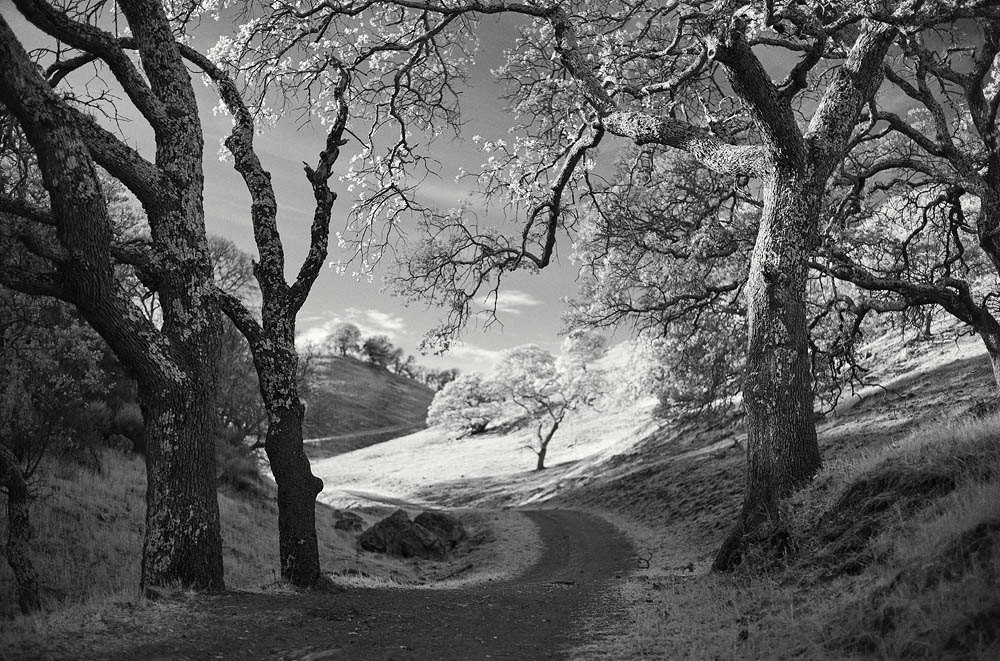
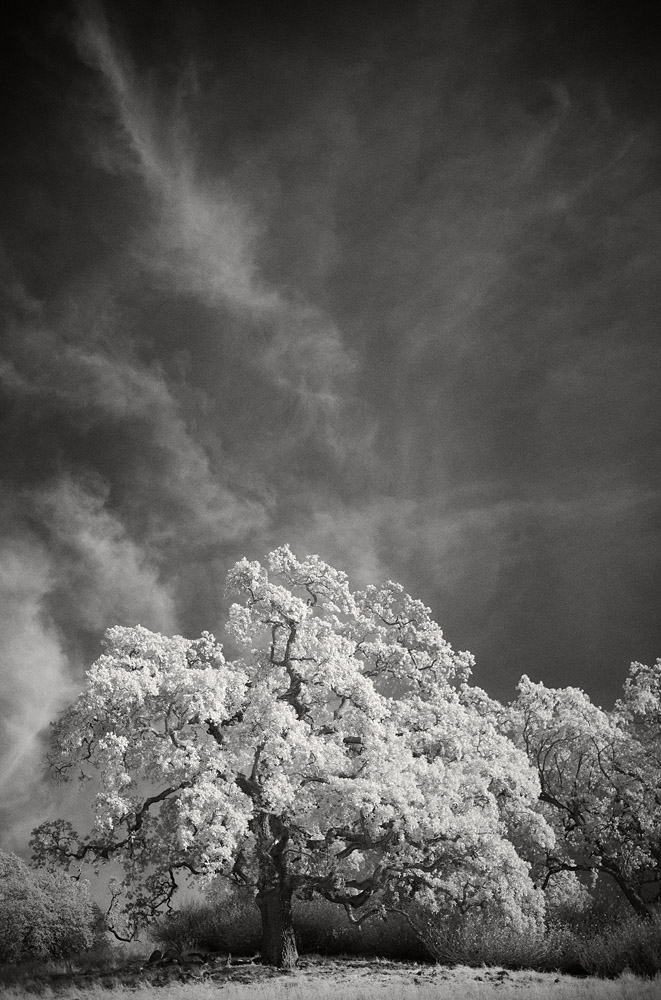
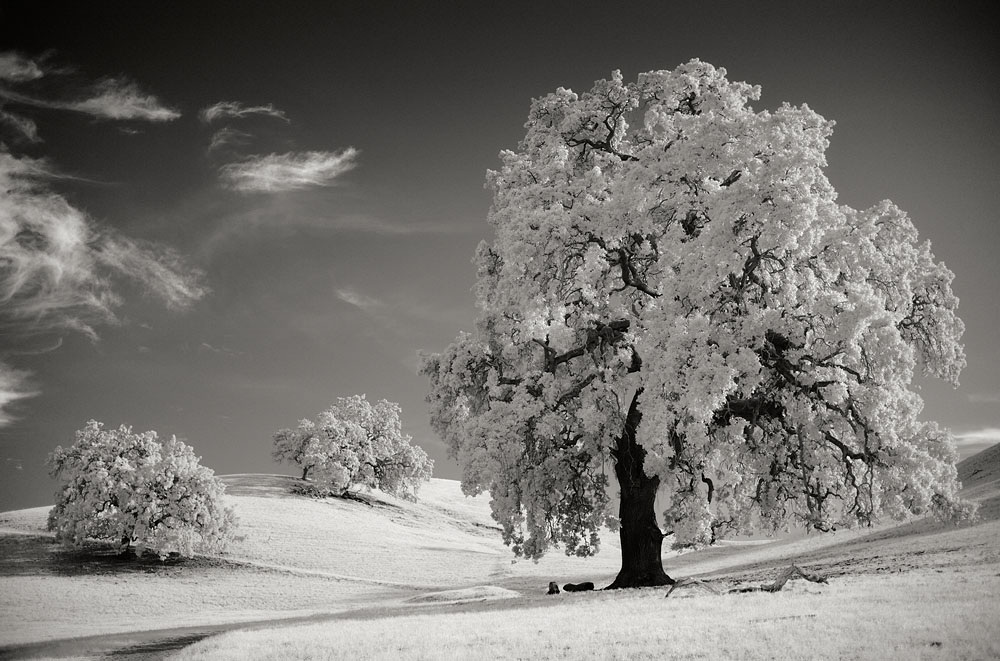
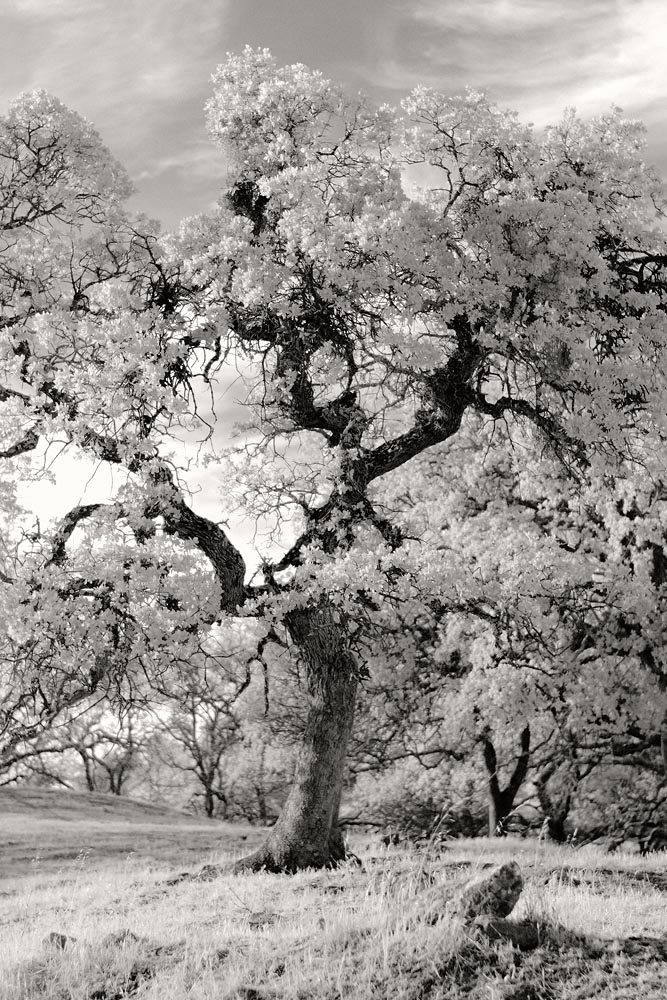
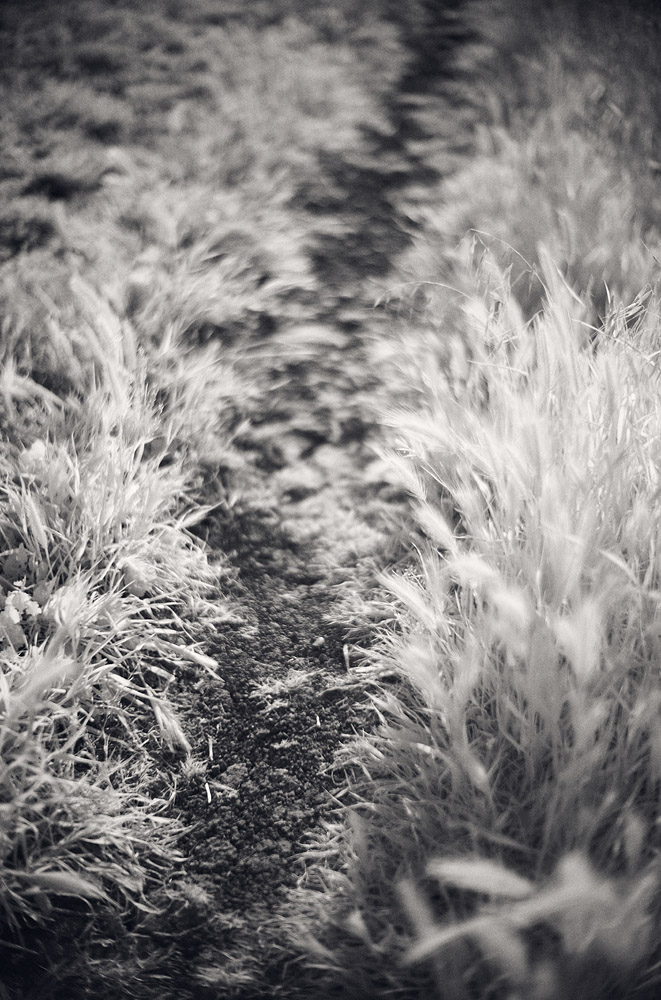
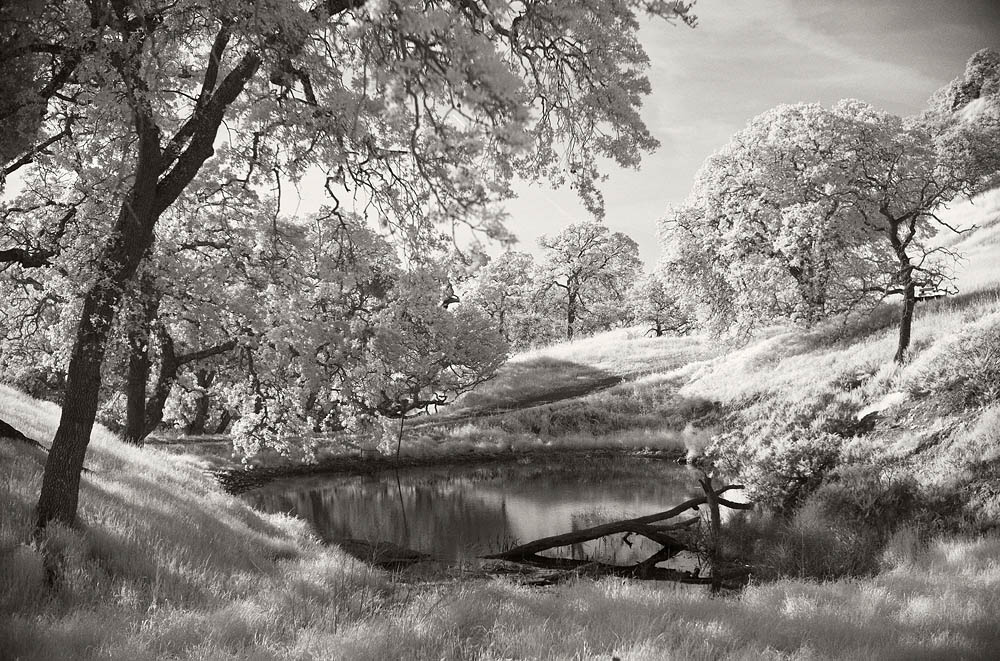
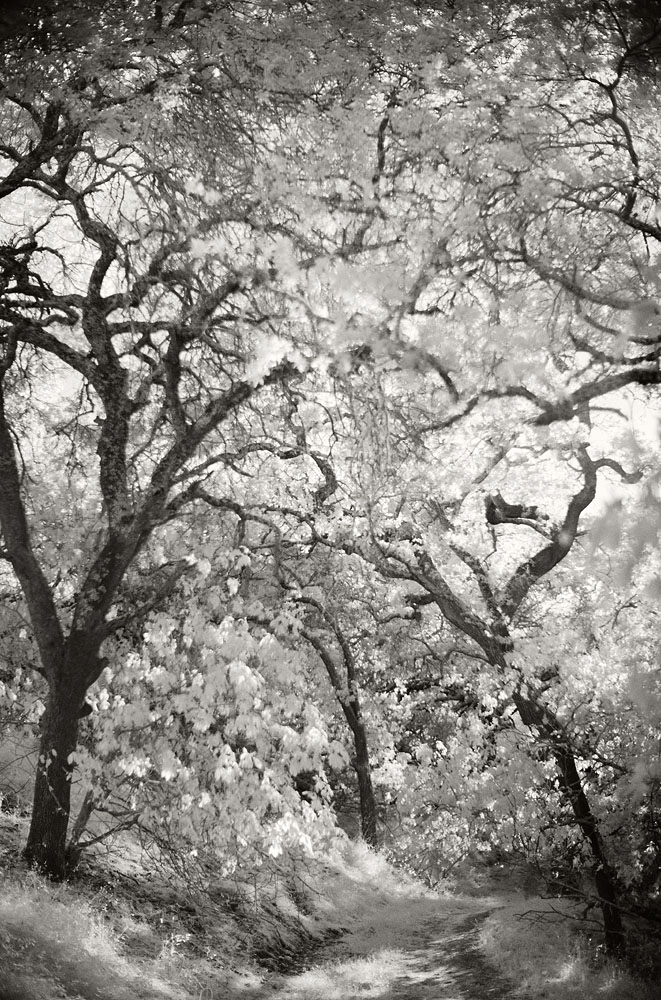
I want to share some images before diving into the process just to show what is possible with infrared photography.

Making images goes as follows:
1. The camera used is a Leica M10 Monochrom body. It’s a black and white camera only. The color array filters have been removed (the color camera has RGB color filters in front of the sensor.) The removal of filters reduces the noise to compared to say the M10-R camera body at the same ISO.
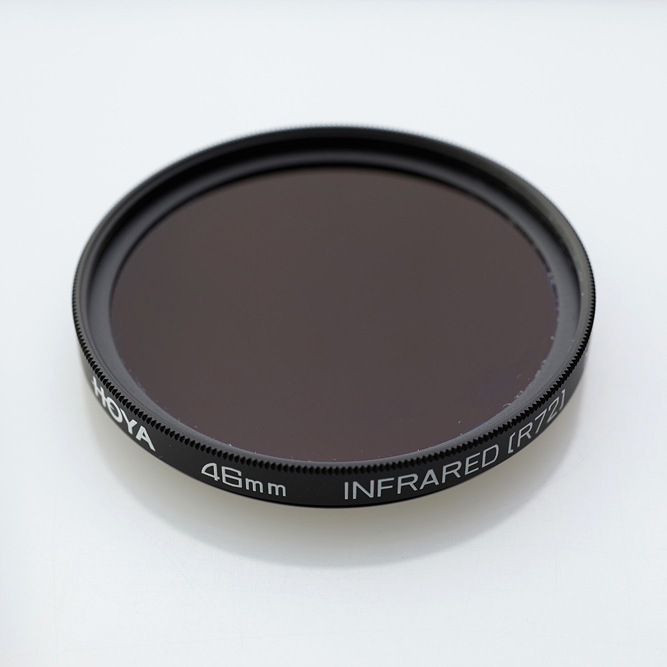
2. A Hoya R72 filter for your lens will filter out most of the visual spectrum and only pass the infrared spectrum through the lens.
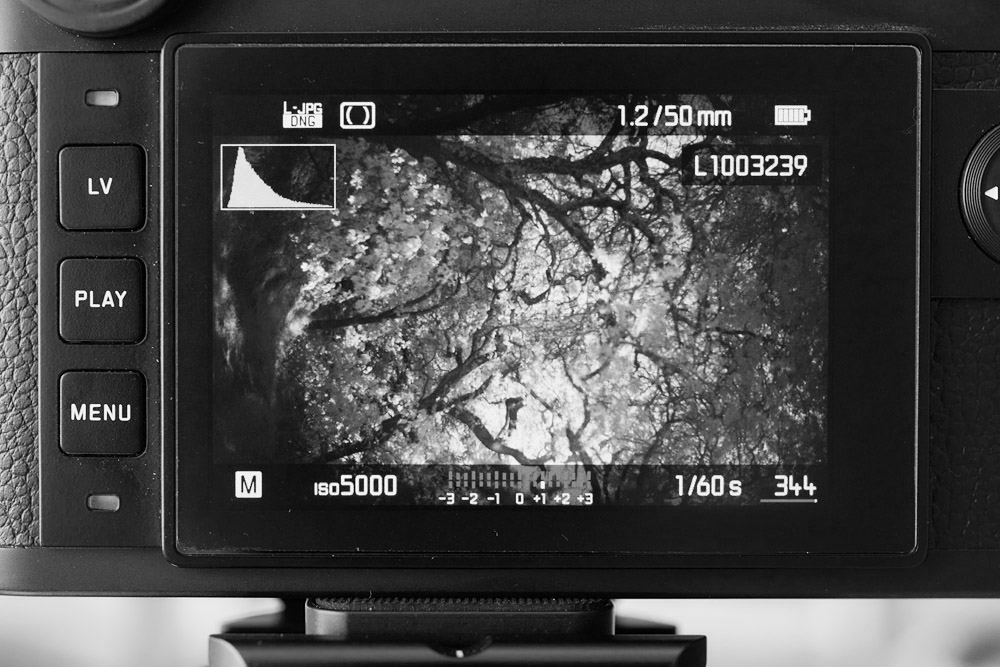
3. Camera settings for starters are ISO 5000, ƒ/ 1.4, and 1/125 second. The exposure will vary depending on the amount of infrared light in your photo. Don’t worry; The Leica M10 Monochrom can handle ISO 5000 without any worries about grain or noise.
4. Use the Visoflex with the Histogram to see where the highlight values are landing. if they are clipping ( over-exposed/ under-exposed, adjust the exposure to capture them.)
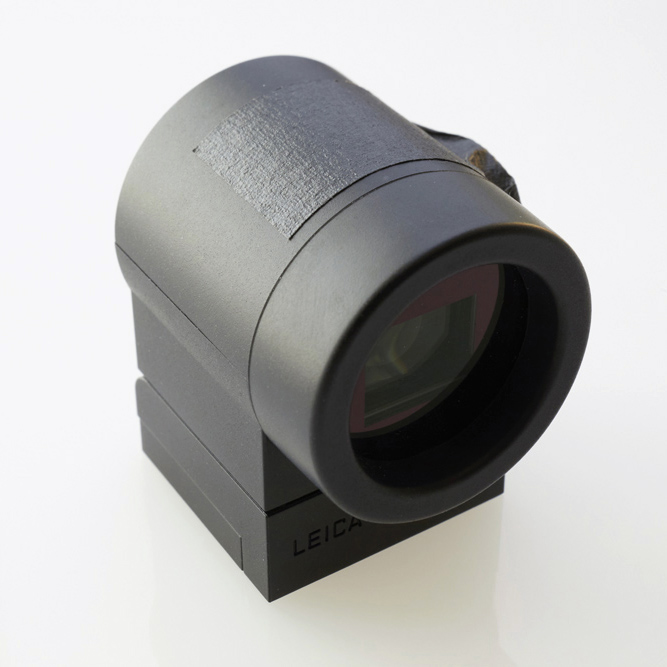
5. Use the Visoflex and tripod to confirm focus. Infrared light will shift the focus, so confirming it with the Visoflex EVF is critical. Depending on the lens, you may elect to focus wide-open and adjust your aperture for exposure. I often photograph wide-open, so that is not a factor. Note: I wear glasses, so I’ve used photo tape to keep the diopter setting in place.
6. Import your images into your Raw software. I use Capture One Pro. Processing is a personal expression, and everyone will process it on their own ascetic. I will demonstrate some techniques that show you how I would elevate an image and why.
7. At this point, we compare the original to the final result.
A Glimpse of the Final Result
Infrared Landscape Photography with Capture One Pro
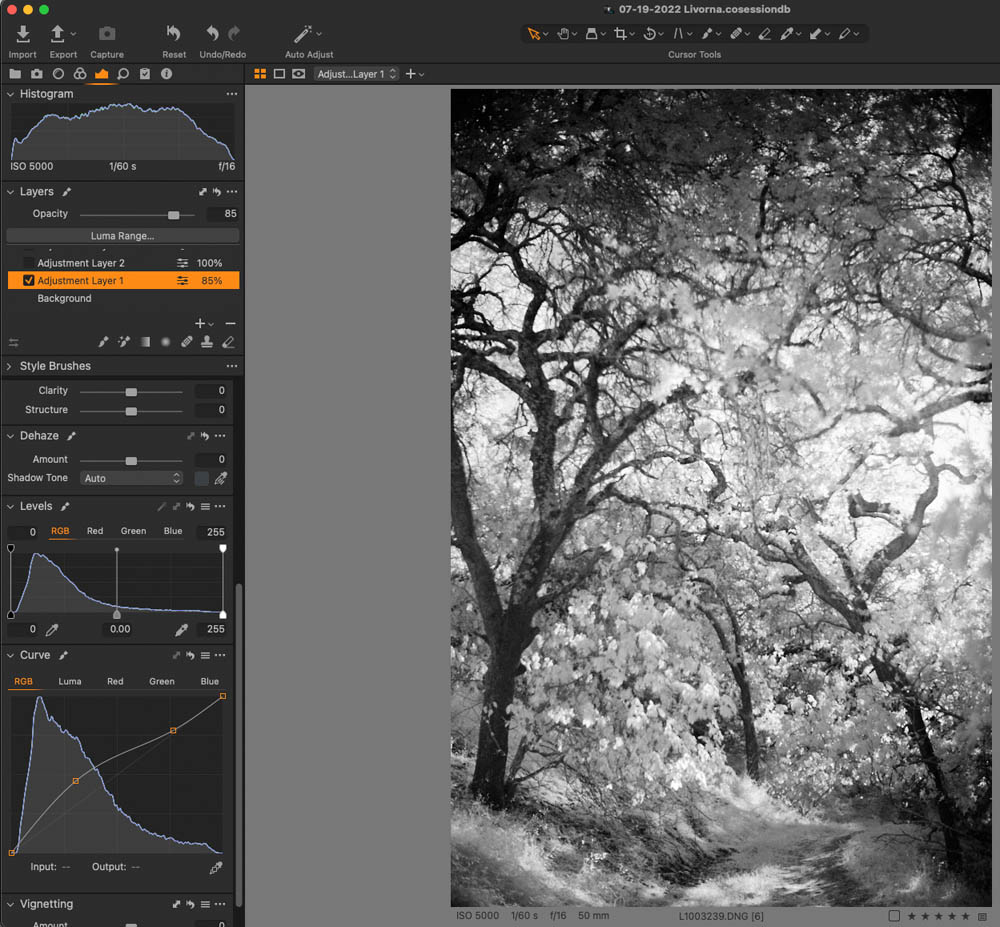
Importing Raw images into Capture One Pro. This is what the image looks like before starting the editing process. A lot of work is evident in this image. Small step-by-step edits will add up to the final image.
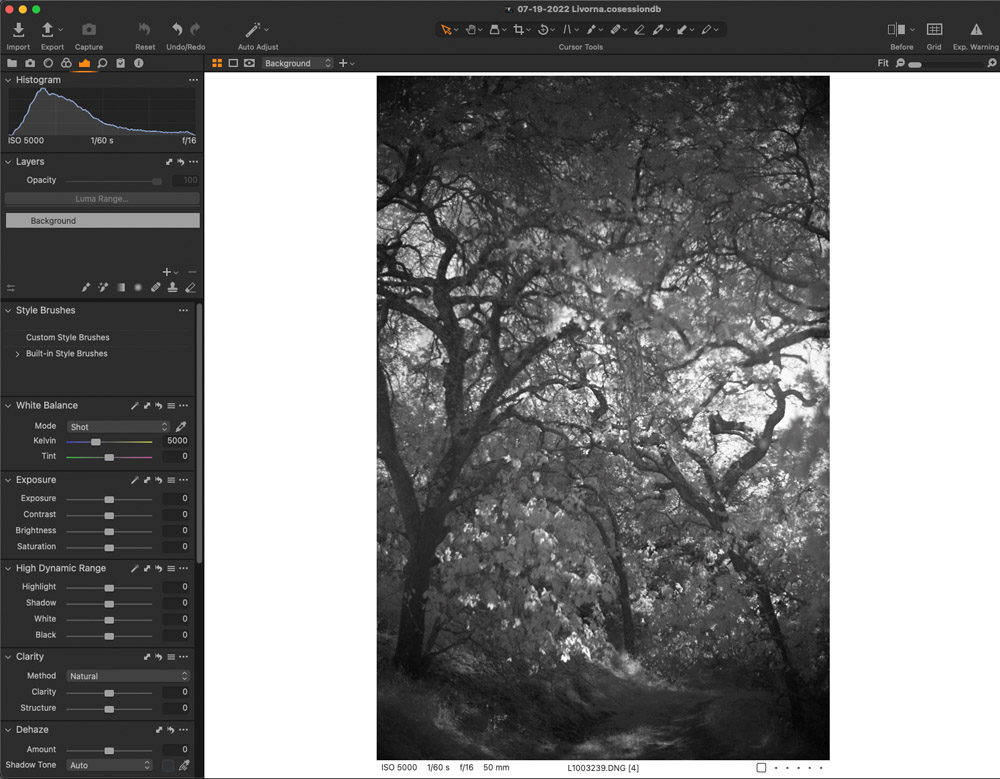
A. This is the Raw image with all tones expressed in the Histogram. most of the tones are 3/4, and thin out towards the highlights.
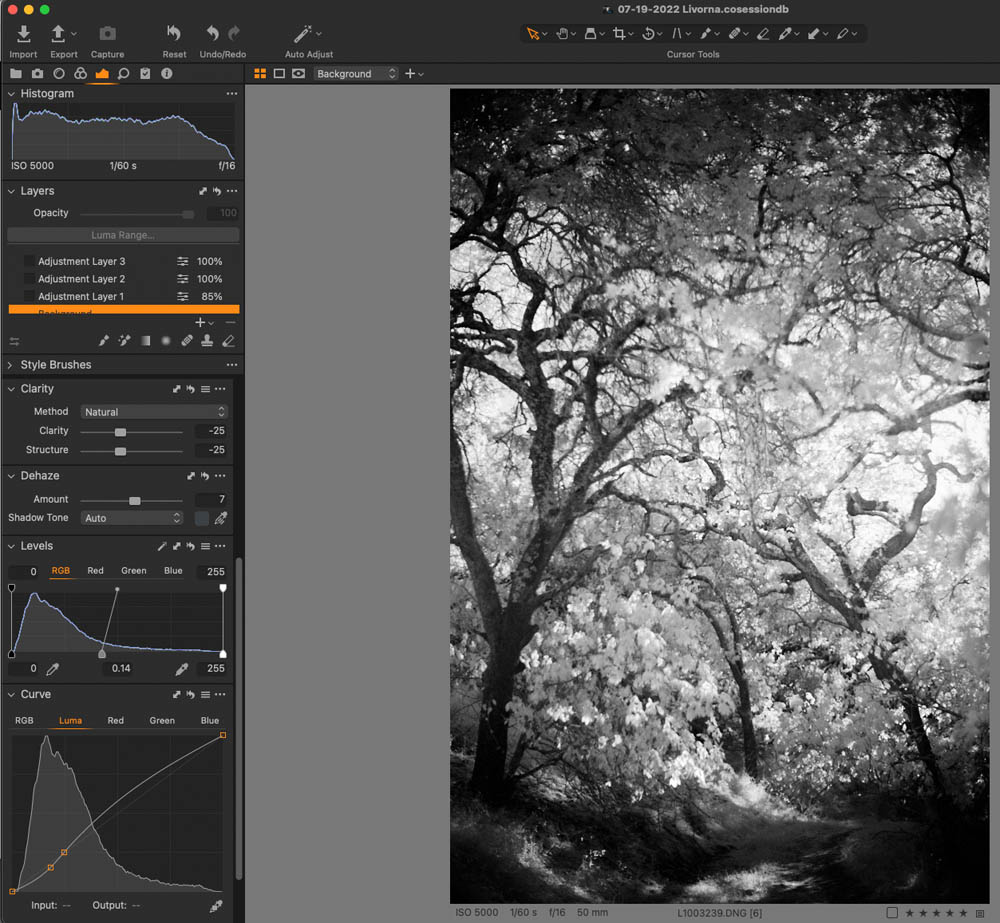
B. Global edits in Levels (opening up mid-tones) and Curves (increasing contrast without damaging the highlight detail.)
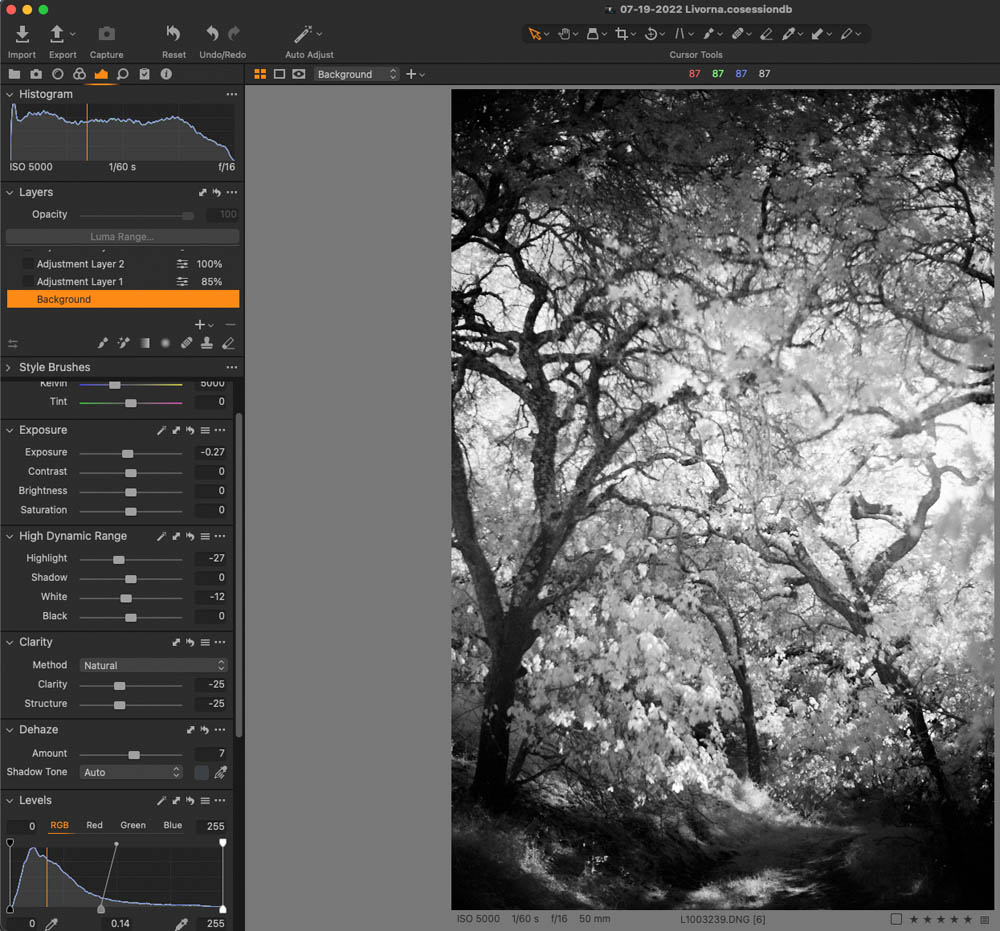
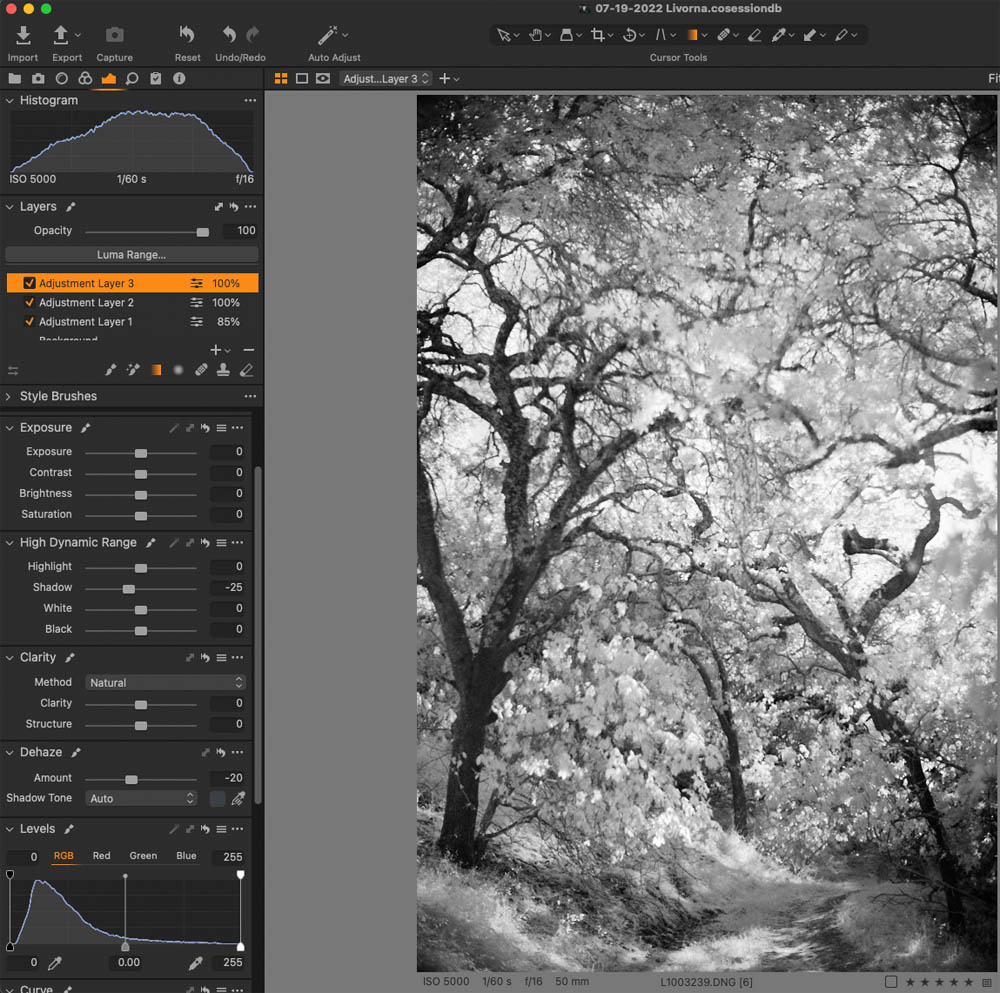
C. Dynamic Rage adjustments. Pulling in a little highlight and white detail. Plus a touch of light in the shadows.
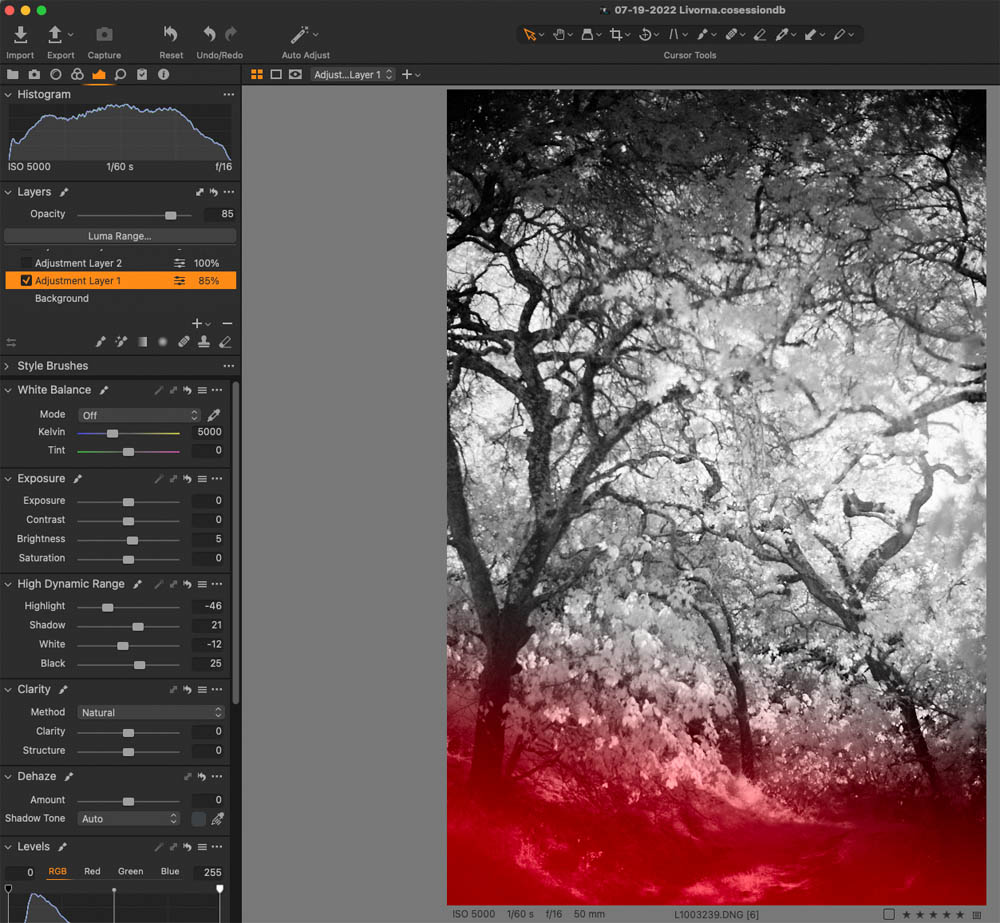
D. An Adjustment Mask to edit the foreground. The lens wide-open will naturally darken the corners, so this edit is to counter and balance that effect.
E. Using Curves to open the masked bottom area.
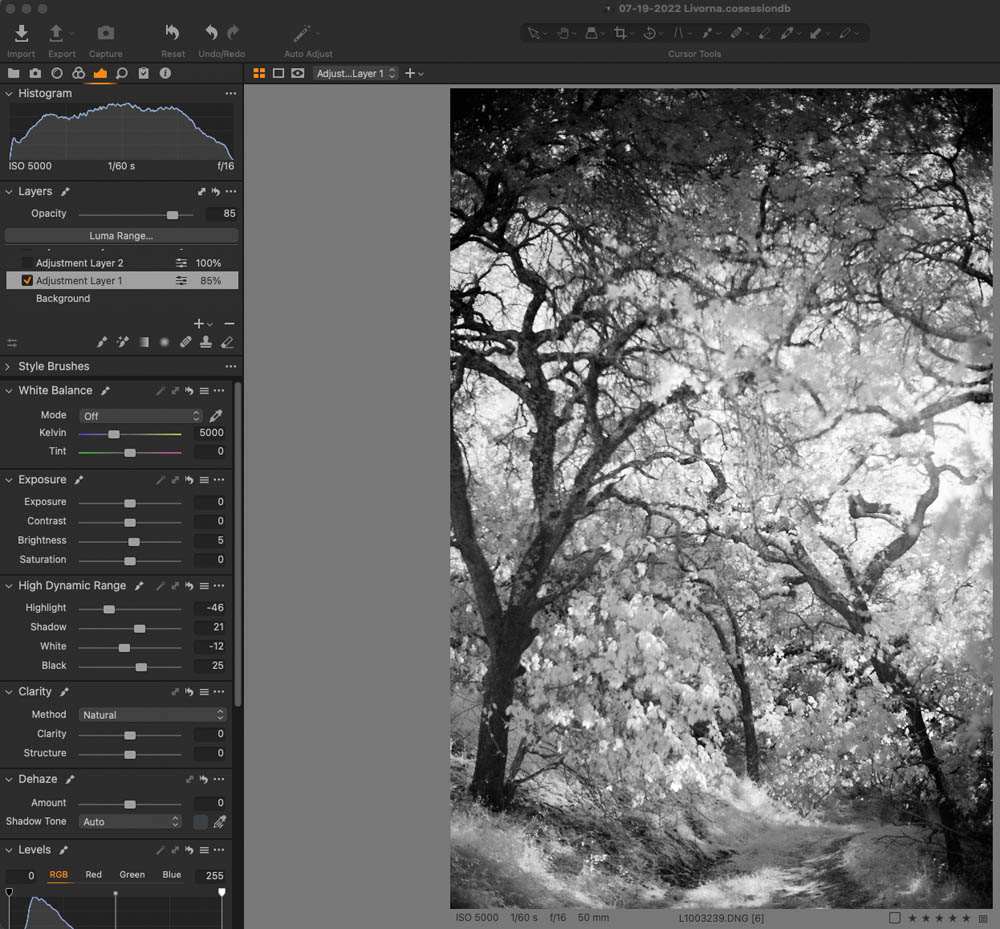
F. Also, I’m using Dynamic Range to tweak the highlights and shadows.
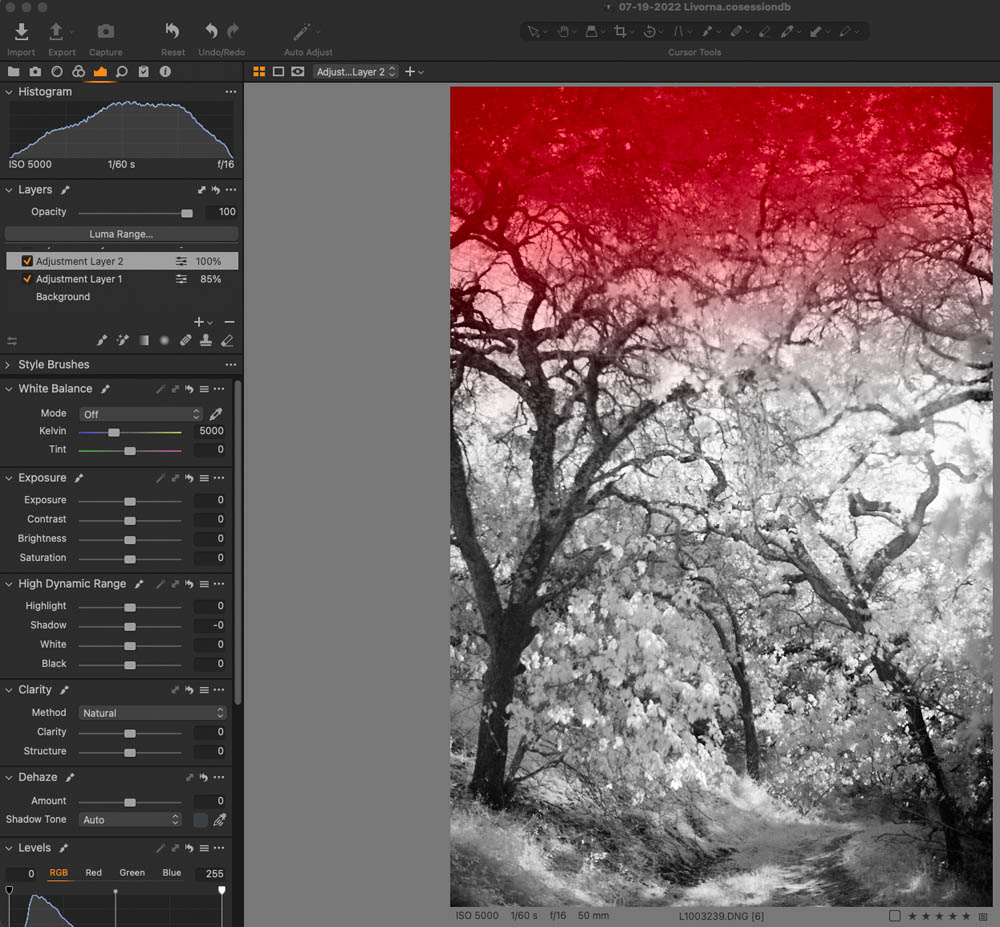
G. A second Adjustment Layer to edit the top of the image.
H. Lifting the mid-tone values with Curves.
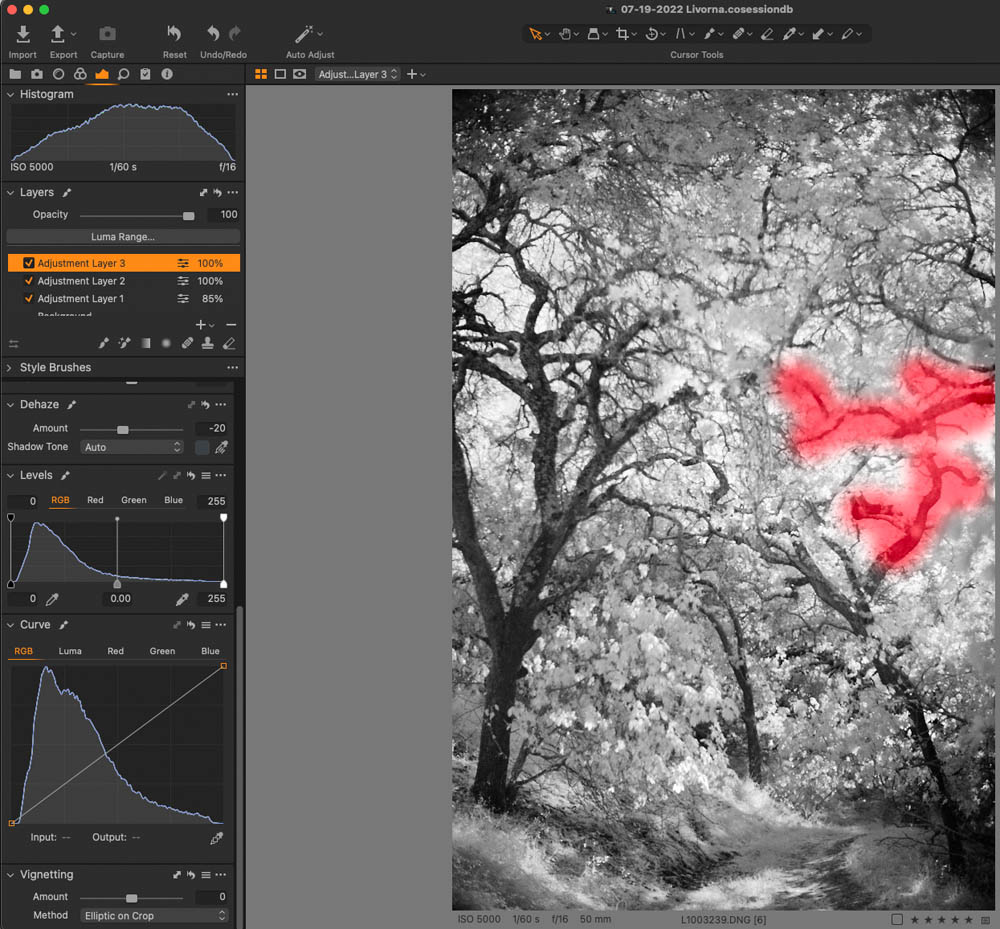
I. A third adjustment layer mask showing the area selected for darkening.
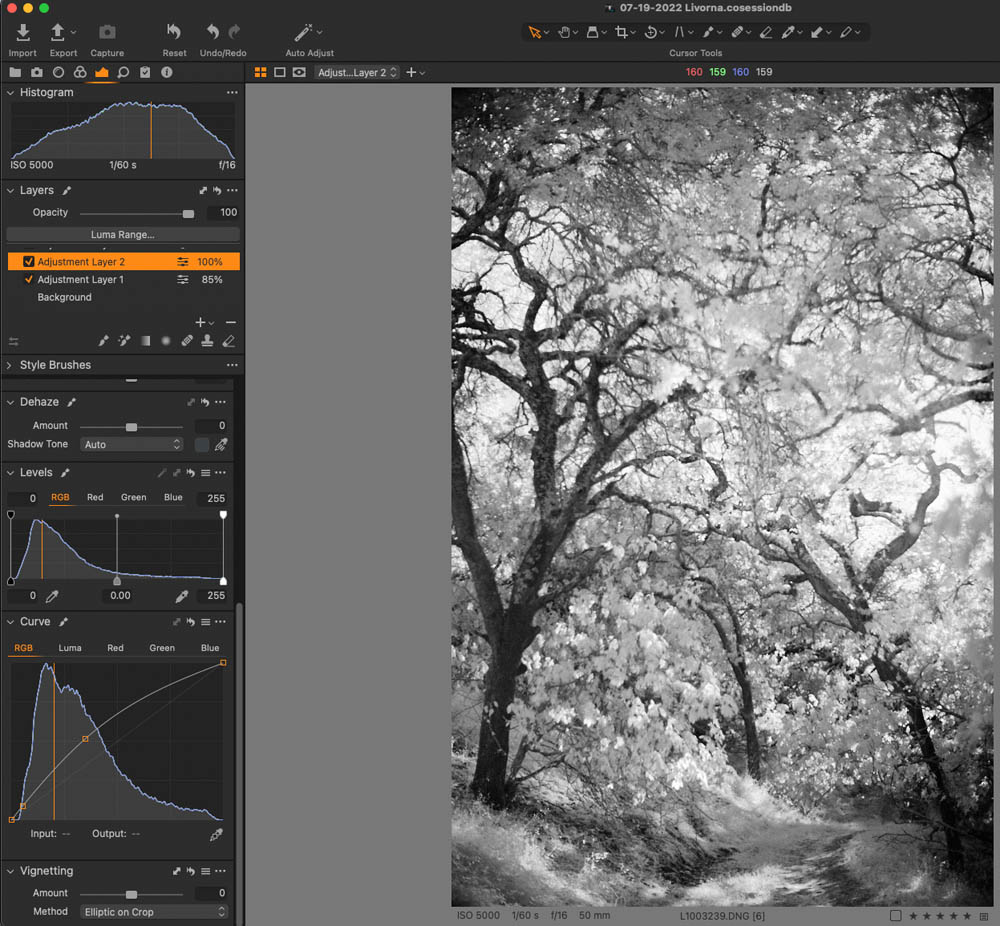
J. A third Adjustment Layer to address the lighter branches on the right side.
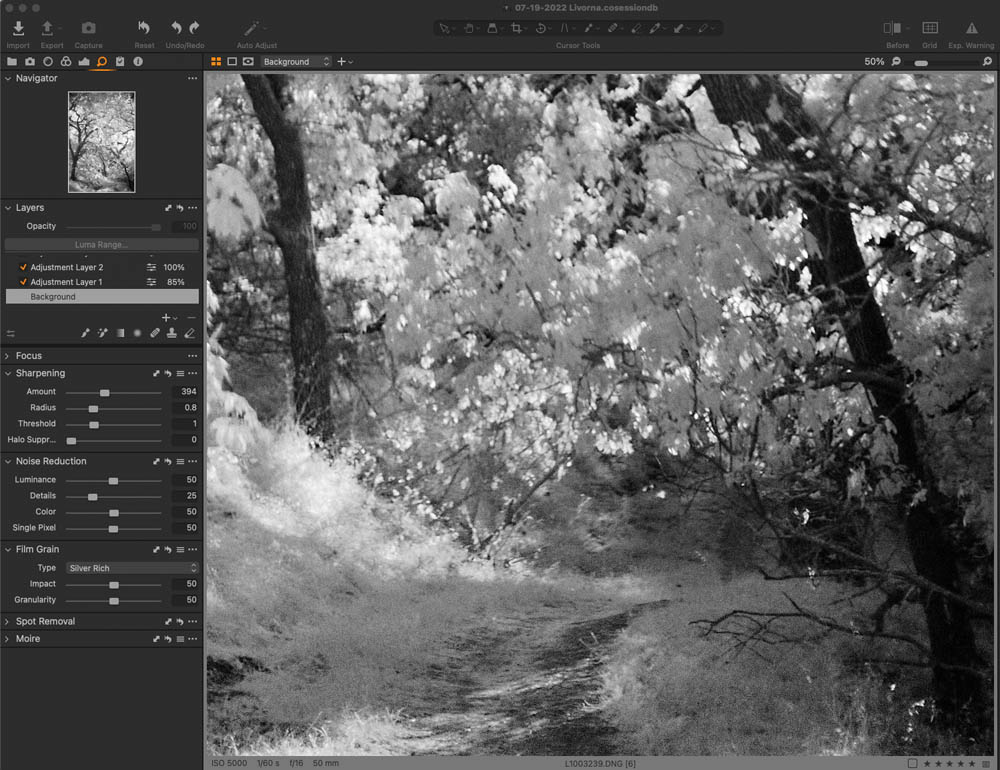
K. Adding Sharpening, reducing noise, and adding grain. I zoomed in to see the effect. I add grain to make the image look more analog. You can decide what you use.
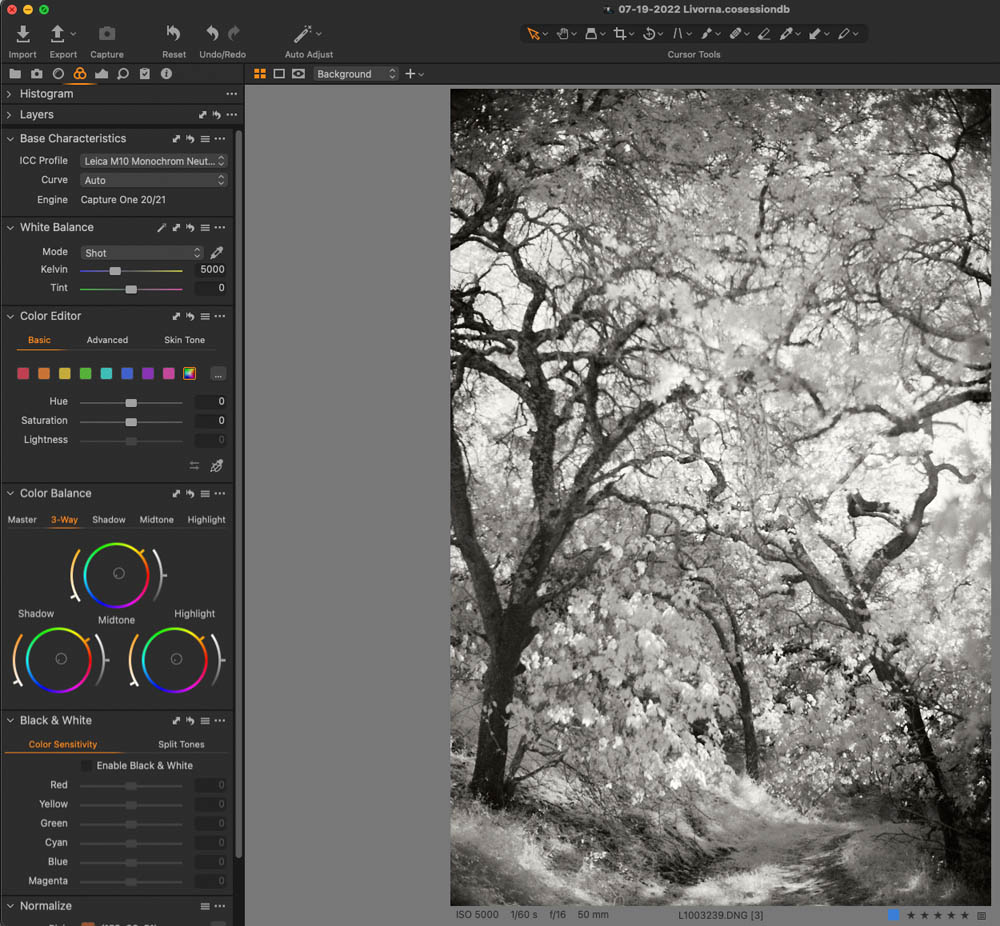
L. Add tint to the image via Three-Way Color Wheels. The color wheel represents Shadows, Midtone, and Highlight. Each wheel has another three adjustments. A color tab on the wheel to select the color, A color strength slider on the left component arc and lightness and darkness on the right component arc. I try to emulate old paper emulsions and or processes with The Three-Way Color Wheel. Try it, and you may like it as well.
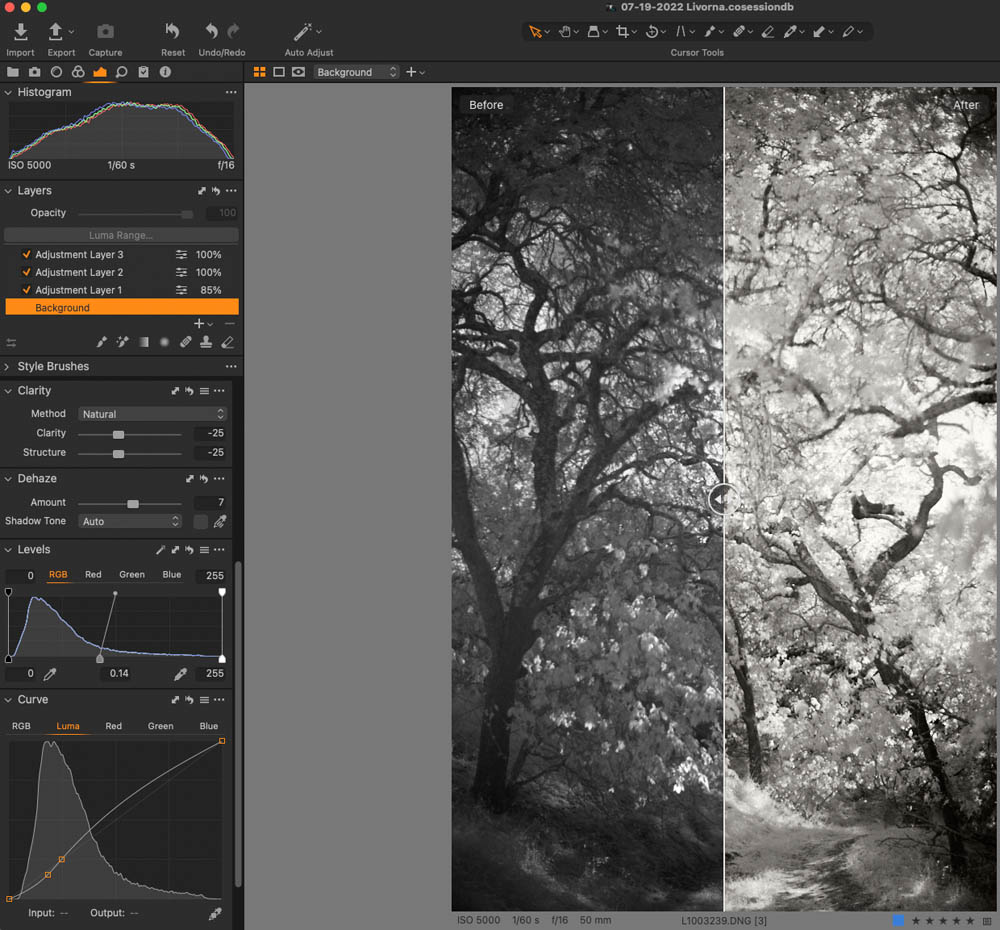
M. This demonstrates the before and after of the image above. A background (base) layer plus three adjustment layers using Capture One Pro.
Great work, as always Mark. Thanks for sharing your process – it’s always nice to get a peek behind the curtain!
Thanks, Matt! I appreciate the compliment. It’s good to share process and knowledge. An excellent week for you!